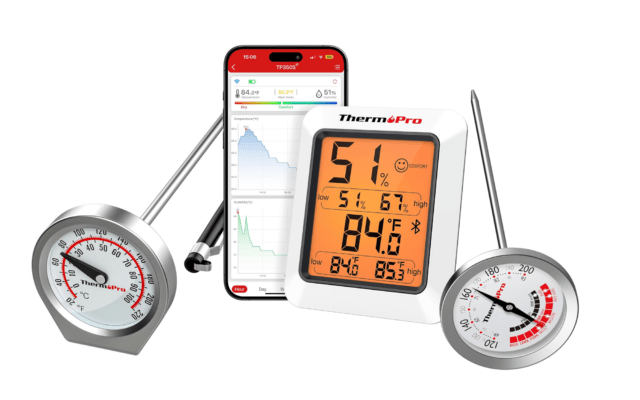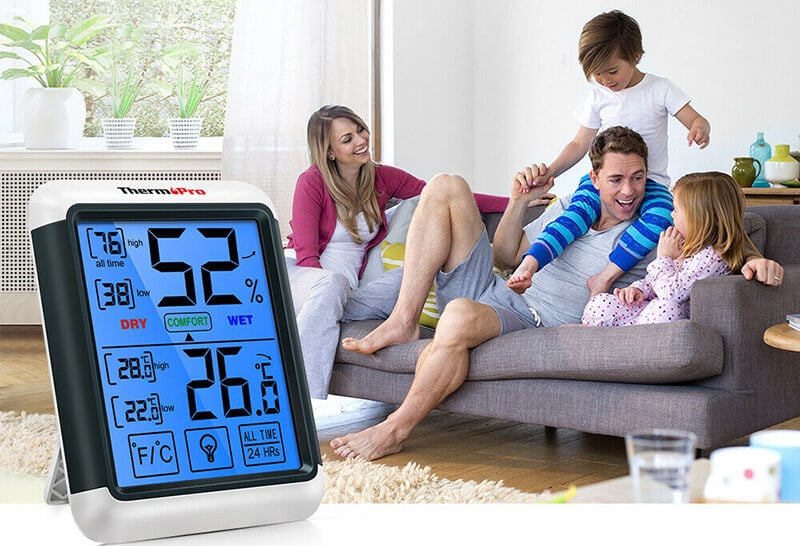
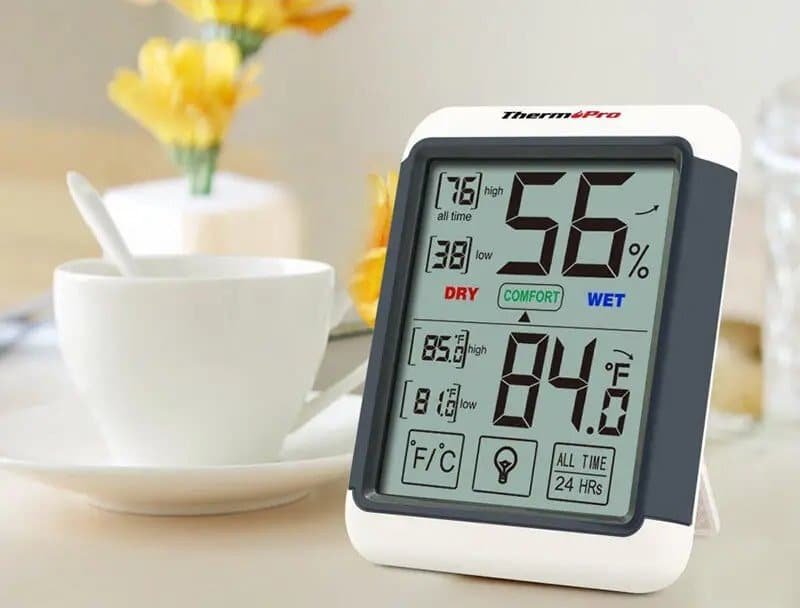
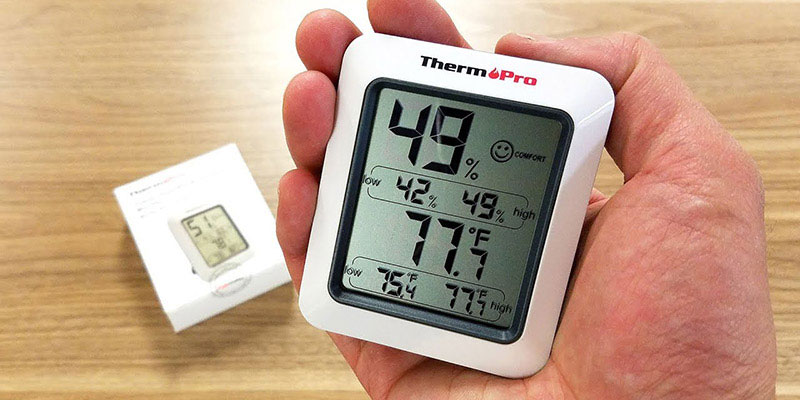
Indoor/outdoor hygrometers and thermometers can inform you of the precise atmospheric conditions in and around your home. Through these practical devices, a homeowner can optimize their interior environment for comfort and healthiness. In order to accomplish this, it’s important to learn how to set up one of these products for yourself.
With this straightforward guide, we’ll tell you how to quickly set up your new ThermoPro indoor/outdoor thermometer. You’ll find out what you need to know to get started and how simple these devices are to use.
Here’s how to set up a ThermoPro indoor/outdoor hygrometer/thermometer:
Table of Contents
How to Synchronize Sensor(s) with the Receiver Unit
Many ThermoPro inside/outside temperature and humidity monitoring devices come in two separate parts. These include an indoor receiver unit with a display and its own sensor, and a separate sensor unit that can be placed independently of the home unit.
- Begin by ensuring the receiver and all sensors are installed with batteries. To install a battery, remove the battery cover for each unit. Use a small Phillips screwdriver to remove the four screws of each battery cover.
- Install the required number of batteries for each display unit and sensor; make sure the batteries are the correct type and are aligned with the correct polarity (+/-). Once the display unit is powered up, replace the covers and re-tighten the screws.
- Before re-installing the battery cover for any sensor units, you’ll first need to synchronize them with the receiver.
- Find the channel selector within the battery compartment on the sensor, and set it to channel one. Once selected, the sensor and the display unit should be automatically synchronized. If done correctly, the sensor and the radio signal on the display unit will show a flashing red light. Once synchronized, replace the battery cover on the sensor unit.
- To synchronize additional sensors to the display unit, take each sensor and insert batteries, set it to its own individual channel (that hasn’t been taken by another sensor), and press the sync button.
How to Replace Batteries for Your Sensor/Receiver Unit
Battery covers for ThermoPro thermo-hygrometers are designed to keep them working in harsh weather conditions. As strong as this makes these units, this means you’ll need to undergo the following steps to replace batteries for your sensor(s) and receiver.
- Begin by procuring a small Phillips screwdriver required to remove the screws that fasten the battery cover for all sensor and receiver units.
- Remove the four screws that are holding down the battery cover of the receiver, and then remove the cover. Be careful not to remove the rubber seal that lines the battery compartment.
- Remove the depleted batteries, and re-install with a fresh supply. Make sure you match the positive ends of the batteries with those shown in the battery installation diagram.
- Replace the battery cover onto the display unit, and screw each of the four screws back into their slots. Before tightening the cover, make sure the rubber seal is properly seated in its groove.
- Repeat the same process for each sensor unit.
You will need two AAA batteries for the display, and two AAA batteries for each sensor. Keep the small Phillips screwdriver in a handy location so that it can be easily accessed whenever you need it.
How to Reset a Sensor or Receiver
If the receiver or sensor unit of your indoor/outdoor environmental monitor should malfunction at some point, an easy fix to this problem is to reset the unit.
All ThermoPro indoor and outdoor thermometers are equipped with a reset button. These are located on the front or back of their sensor stations and display units.
- For devices that have forward-facing reset buttons, simply press this button to reset the unit.
- For units with back-mounted reset buttons, these devices require a Phillips screwdriver to remove the back cover in order to provide access to its reset button. Some models feature reset buttons placed next to their wall-mountable slot and don’t require a screwdriver to access the button.
The reset button resets your thermometer’s display. Once activated, it will automatically display the current readings of its surrounding area.
How to Change Temperature Units or Historical Display Durations
- Switch between Fahrenheit and Celsius units by pressing the “°F/°C” button. This option is available on most ThermoPro products as a front-facing button.
- Toggle the display for temperature highs and lows for the last 24 hours or since the device was turned on using the “All-Time/24 Hrs” button. This button is located on the back of some older models, and on the front of newer models where it can be found on the screen.
Once the button is pressed, it will automatically cycle between its recorded temperatures every few seconds. This feature is very useful for providing the right context to make apt temperature and humidity comparisons for your location.
How to Set Up: Troubleshooting
If the receiver can’t connect to the sensor, try the following:
- Repeat the synchronization process as described above.
- Change the receiver or the sensor to a different location until the connection is re-established.
- Place the receiver and sensors away from other electronic devices that may cause interference.
- If the receiver is magnetized to a refrigerator or a metal object, the transmission range may be shorter. Remove the receiver from its metallic location, or place the receiver and its sensor closer together.
- For more useful info, check out our Operating Manuals page to find manuals for any of our products.
Final Thoughts on How to Set Up Your Home Thermo-Hygrometer
ThermoPro indoor/outdoor hygro-thermometers are very useful devices that provide real benefits to residential homes. And yet, they require a proper setup to get the most value from them.
By following this simple guide showing you how to set up these temperature and humidity monitors, we are sure you are well on your way to optimizing your environment. Follow these tips to provide the maximum comfort and care for your family today!
Interested in getting an indoor/outdoor thermometer/hygrometer? Check out ThermoPro’s best-selling lineup of products designed to increase your home’s livability!