Without a doubt, cheese is one of the best foods on earth. In fact, the only thing that’s better than eating a bite of delicious cheese is knowing that you made it. If you agree with this assertion, this complete guide for making homemade cheese is perfect for you. By reading it, you will learn how to make homemade cream cheese and homemade mozzarella. Even better, you will pick up the basic techniques for making cheese, making this guide a fantastic first step for becoming a homemade cheese master.
How to Make Homemade Cream Cheese
If you have always wanted to know how to prepare homemade cream cheese, keep on reading. Apart from providing detailed instructions for a couple of cream cheese recipes, we will give you important information about cream cheese in general.
What is Cream Cheese Made Of?
Before teaching you how to make homemade cream cheese like a pro, let’s talk about cream cheese and what it’s made of. Essentially, cream cheese is made from unskimmed cow’s milk. This milk is combined with specific amounts of cream to produce a fresh, mild-tasting and very dense paste with very high-fat content.
To achieve the characteristic texture of cream cheese, manufacturers use lactic acid. As a result of this treatment, cream cheese has a short life even when refrigerated. Unfortunately, this is especially true with cream cheeses made with traditional methods. However, making your own cream cheese makes it very affordable.
How to Make Cream Cheese at Home in Two Steps
When it comes to making homemade cheese, cream cheese is a great place to start. Requiring only two steps, making cream cheese is easy. Furthermore, it will teach you the basics of making any cheese.
What You’ll Need to Make Homemade Cream Cheese
- A large stainless steel pot with a lid.
- Mixing utensils.
- A ThermoPro Digital Meat Thermometer.
- A tight-weave towel or butter muslin.
- A colander and bowl or greek yogurt strainer.
- One gallon of milk.
- Coagulant agent.
- Cheese Salt (optional).
Step One: Culture the Milk
- Heat the milk: Put the milk in a pot and let it heat slowly at about 86°F. In order to be as precise as possible, use a digital device such as the ThermoPro Digital Meat Thermometer.
- Remove the milk from the heat: Once the milk has heated, remove it from the stove. Cover the pot with a lid and let the mixture sit for about a minute or two.
- Incorporate the starter culture: After a minute has elapsed and the milk has gone completely still, stir in a packet of cream cheese culture mixture. Only stir for about 15 seconds. Do it slowly.
- Allow the mixture to culture: Once the cream cheese culture mixture has mixed completely, cover the pot with a lid and let it culture for 12 hours at approximately 72° – 77°F.
- Separate the extra whey from the cheese: Once the 12 hours have elapsed, uncover the pot. The cheese should be solid but still soft to the touch, looking a lot like yogurt. It is possible that you see some yellowish liquid separated from the cheese. This is whey, and we will be removing it in the next step.
Step Two: Strain the Cheese
- Prepare the muslin: Put a doubled piece of butter muslin (or a tea towel) in a colander that is within a bowl. Then, calmly move the cultured milk into the butter muslin using a spoon. After that, take the corners of the muslin and fold them inwards until they touch. Then, tie knots to secure.
- Drain the whey: Hang the muslin over a bowl so the whey can drain. A good way to do this is to tie the muslin around a cupboard handle and put a bowl just underneath it. Let the whey drain for up to 12 hours, or until you notice the mixture has been completely drained.
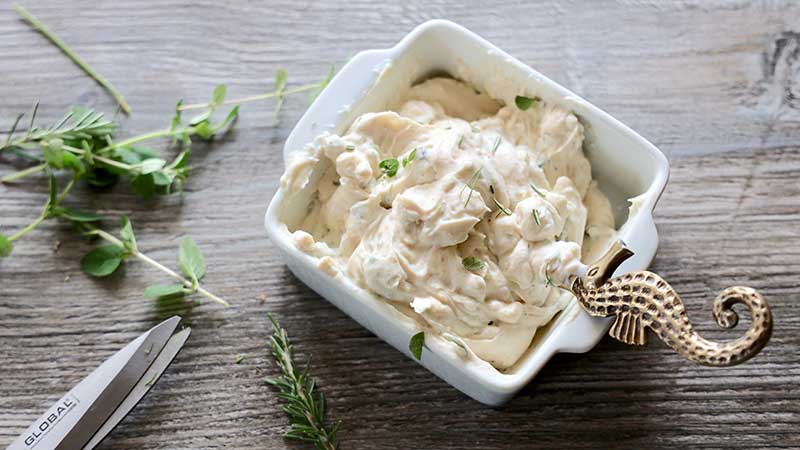
- Add salt: Knead salt into the cheese mixture according to your own taste. After kneading the salt in, fold the cheese into itself a few more times to make sure it’s evenly mixed.
- Refrigerate: Now, it’s time to wait. Refrigerate the cream cheese for about a week before using it.
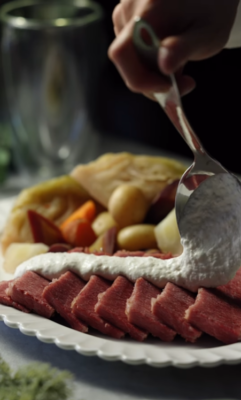
How to Make Cream Cheese Frosting
Cream cheese frosting is perfect for decorating cakes and desserts. Additionally, it makes for a great breakfast when mixed with fresh fruit.
Ingredients
- Half a cup of butter at room temperature.
- Eight ounces of Philadelphia cream cheese at room temperature.
- About 3 cups (or 360g) of powdered sugar (also known as confectioner’s sugar), sifted.
- One teaspoon of vanilla extract.
Instructions
- Beat the cream cheese and butter together: Beat the cream cheese and butter together using an electric mixer. Keep beating until the resulting substance is completely homogeneous and smooth. Using a spatula, scrape down the sides to ensure everything gets mixed evenly.
- Beat in additional ingredients: Add the vanilla extract with the mixer running on low speed. Then, gently add in two cups of powdered sugar. Notice that the mix will get thicker as you add powdered sugar. Keep adding it until you get the desired texture.
- Spread or pipe the frosting to decorate: Using a spatula, transfer the cheese cream frosting into a piping bag. Then, apply the frosting to your dessert and spread it evenly.
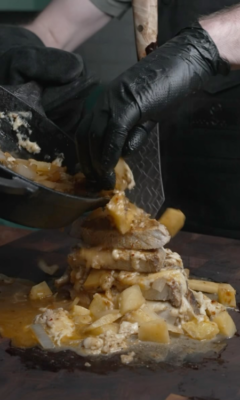
How to Make Homemade Mozzarella Cheese
Without a doubt, mozzarella cheese is one of the most versatile and delicious cheeses out there. To get it right, you need to learn how to make cheese curds. If you want to know how to make homemade mozzarella cheese, keep on reading.
Ingredients
- One gallon of whole milk
- One and a half spoons of citric acid.
- A fourth of a teaspoon of liquid rennet.
- Salt.
Instructions
- Prepare the ingredients: First, combine one cup of water with one and a half teaspoons of citric acid. Mix well. In another bowl, combine a quarter of a cup of water with two or three drops of liquid rennet. If you were wondering how to make cheese curds, rennet is the key.
- Mix the milk with the other ingredients: Put one gallon of milk into a large pot. Add the bowl of water with citric acid. Then, heat the pot over medium-high heat until your ThermoPro Digital Meat Thermometer reads 90°F. Remove the pot from the heat and stir in the rennet mixture. Cover and let rest for five minutes.
- Cut the curds: After five minutes have elapsed, use a long knife or spatula to cut the curds into small squares. Make sure you reach all the way down to separate the pieces thoroughly.
- Cook the curds: After setting the pot over medium heat, let the curds cook, stirring gently from time to time without breaking the curds too much. Once the mixture reaches 105°F, remove the pot from the heat and let it rest for another five minutes.
- Separate the curds from the whey: To separate the curds from the whey, dip a fine-mesh sieve into the pot. Clump the curds together and let the whey drain off the sieve and back into the pot.
- Reheat the curds: Bring a pot of water to 185°F. After putting the curds in the strainer, lower them into the pre-boiling water for three minutes. The goal is to bring the internal temperature of the curds to 135°F. To get the exact temperature, use your ThermoPro Digital Meat Thermometer. Remarkably precise and featuring different cook modes and timer modes, this device can help you monitor the temperature of your recipes with complete confidence.
- Stretch the cheese: Sprinkle one teaspoon of salt over the cheese curds. Over the pot of hot water, fold the curds over themselves, stretching as you fold. Repeat this process until the curds become smooth and elastic. Then, put everything back in a bowl.
- Shape the cheese: In the final step for making homemade mozzarella, simply shape the cheese in any way you desire.
As you now know, making homemade cheese is not as difficult as it sounds. By following these instructions precisely, you will be able to get the technique down in no time. As you probably noted, the key to making cheese is to constantly monitor the temperature of your mixture at all times. Once you have that down, the rest of the process will be smooth sailing.
-
↓ 29%