The customer service team is always listening, taking notes, and quantifying complaints to ensure our products are continually improved. Due to selling directly to you, the customer, via Amazon, we can use product reviews to help us improve our existing products or help further development of new products.

Brisket Boat
Serves
10
PREP TIME
30 M
COOK TIME
6 H
MODEL NUMBER
TP08s
INGREDIENTS
- Brisket (Whole, Full Packer 10-15lbs)
- Mustard (¼ cup)
- Beef Rub (Equal parts, Salt, Pepper, Garlic Powder, Brown Sugar)
- Aluminum Foil
- Butcher Paper
HOW TO MAKE Brisket Boat
STEP 1 (Prep): To prepare this brisket, you must first trim it, make it aerodynamic, bind and season it. First, trim your brisket. To do so, start with the top side. You want to remove all hard fat and silver skin. There will be a large ribbon of fat usually separating the point from the flat section. You do not have to dig too far in to remove this fat cap. Leave as much of this ribbon as you prefer. Now you want to make this brisket aerodynamic by removing any sharp edges from the exterior of the brisket. Round the point, cut off any discoloured meat, and make round as possible so the smoke rolls evenly around the whole full packer brisket. Flip to the backside, you want to evenly remove the hard fat and leave about a ¼” layer of fat. This will help keep your brisket moist and protect the meat as it lays on your grill. Most of it will render away while slowly smoking it.
STEP 2: Next, you want to bind and season your brisket. Starting with the bottom side first, coat your brisket with a mustard binder. This binder helps your beef rub stick to your brisket. You will not taste this binder once fully cooked. Next, evenly coat the bottom with your favourite beef rub or a simple salt, pepper, garlic powder, brown sugar (all equal parts). Flip your brisket and repeat the process on the top ensuring all parts of the brisket are done.
STEP 3 (Grill): Preheat your pellet grill to 200 degrees. Place your prepared brisket directly on your grill. Use your Thermopro meat thermometer in the thickest part of your brisket. I used my TP-08B with two prongs with a digital wireless thermometer so I could keep my eye on it without having to go outside. I placed one prong in the point section and the other prong in the flat section. This helped me determine if I needed to rotate the brisket for a more evenly cook.
PRO TIP: Place your brisket onto your smoker cold. This will help ensure you get a beautiful smoke ring around the whole exterior.
STEP 4: After about 2 hours of the cook, with a spray bottle and your favourite spritz (I used beef broth), begin spritzing your brisket for moisture every 45 minutes to an hour. For this part of the cook, you’re looking for an internal temperature of 165 degrees. Once your thermometer reads this temperature, it is time to stop spritzing, wrap and make your boat for your brisket to sit in for the remainder of the cook.
STEP 5 (Construction): Next, make your brisket boat. This technique is made to ensure all the juices stay locked inside the brisket and retain during the resting period. Using aluminum foil, layer in three sections so it is large enough to hold your brisket. Then shape by crunching up the sides into a boat / brisket-like shape. Set this aluminum boat aside. The next step is to layer your butcher paper in two sections to fit your brisket. Place your brisket (with an internal temperature of 165 degrees) on your butcher paper, wrap tightly, and place it on the aluminum boat. Take the now, brisket boat, put it back on your grill and raise the temperature of your grill to 250 degrees.
STEP 6 (The Temp): Re-position your Thermopro meat thermometer through the butcher paper and into your meat to monitor the temperature of the meat. You’re now looking for an internal temperature of 200-203 degrees. Once this is obtained, it is time to REST your brisket. Do not skip this step. Rest for a minimum of 1 hour and up to 4 hours. Using a large towel wrap the whole thing (brisket boat and all). Place in a cooler or in a pinch your oven with the door closed. Do not open until ready to slice.
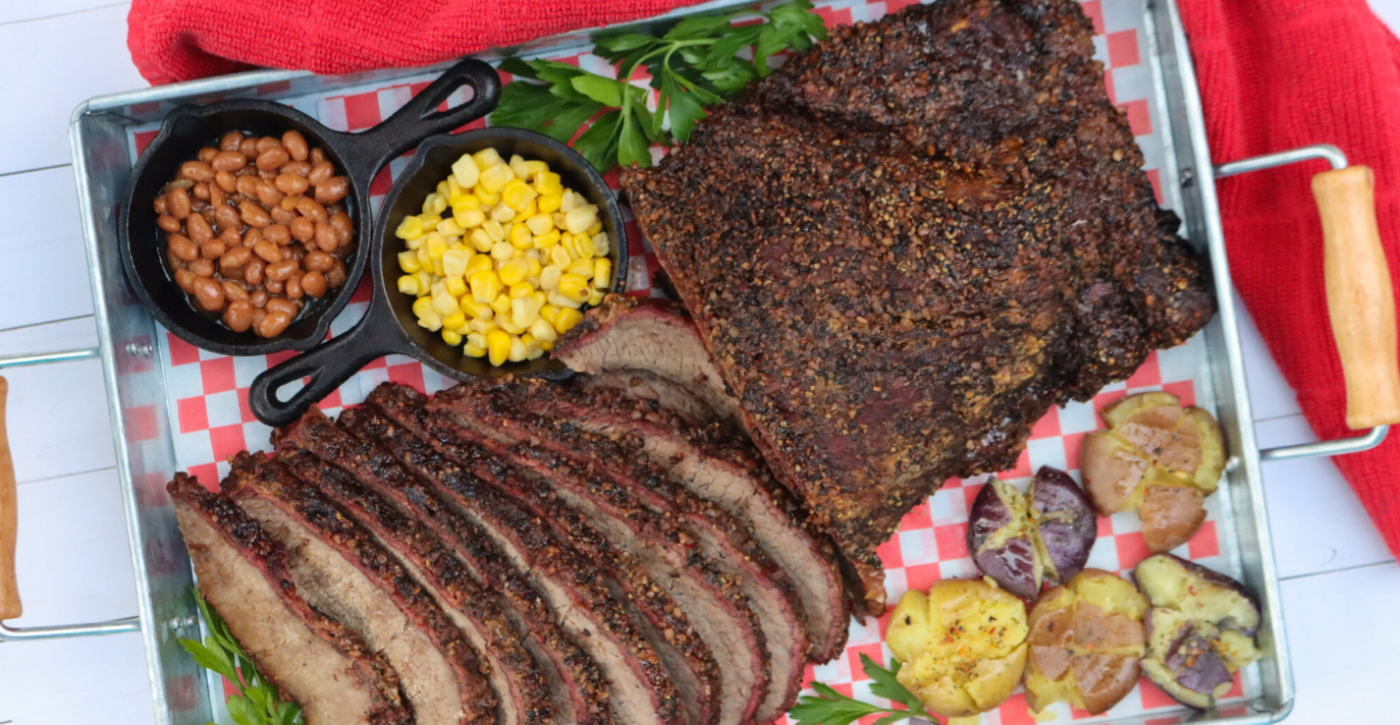
STEP 7 (The Finish): Once smoked, boated, and rested it is now ready to slice. Slice across the grain in pencil thickness slices and enjoy.
Tools You Need
No products were found matching your selection.


