Blog
How to Check Temperature of Turkey


 288 Comments


Why Temperature Checking in Turkey is Important
1. Preventing Dry or Overcooked Turkey: An important reason for checking the temperature of a turkey is to avoid overcooking. A turkey can become very dry if it has been cooked beyond the suggested temperature.
2. Reaching the Ideal Texture: A perfectly cooked turkey represents an equal balance between moisture and tenderness, especially if the internal temperature is well achieved.
3. Uniform Cooking: No matter if a turkey is roasted, grilled, or fried, internal temperature measuring is the only trustworthy way of knowing that it has been properly cooked. Learning how to check the temperature of a turkey will ensure every part of the bird-from the thick breast to the thinner wings-is evenly cooked and consistent.
How to Check Turkey Temp Without a Meat Thermometer
The following describes how to check the doneness of a turkey without using a meat thermometer but still have it turn out fully cooked and delicious.
1. Check the Color of the Meat: The color of fully cooked turkey meat should be white without a trace of pink in the breast. The thighs and legs can be a little darker but shouldn’t appear raw or pink.
2. The Leg Wiggle Test: Another famous technique to test turkey doneness is the leg wiggle test. Grab a turkey leg and gently wiggle it. If the leg wiggles easily and the joint feels a little loose, this means that the turkey should be cooked. This trick is handy in measuring the temperature of a turkey if there aren’t any thermometers available.
3. Pierce with a Fork: A fork can also help determine if a turkey is done. Stick a fork into the thickest part of either the breast or thigh and give it a slight twist. If the meat falls off the bone and feels tender, the turkey is likely done.
4. Press on the Turkey: You can also use your hands to check for the doneness of a turkey. Squeeze the fleshy part between the index finger and thumb over the thickest part of the turkey breast or thigh. In other words, if it does not feel mushy to your finger and thumb, then you know the turkey is ready. Do not forget to use oven mitts or a cloth on the hands.

How to Check Turkey Temperature with a Meat Thermometer
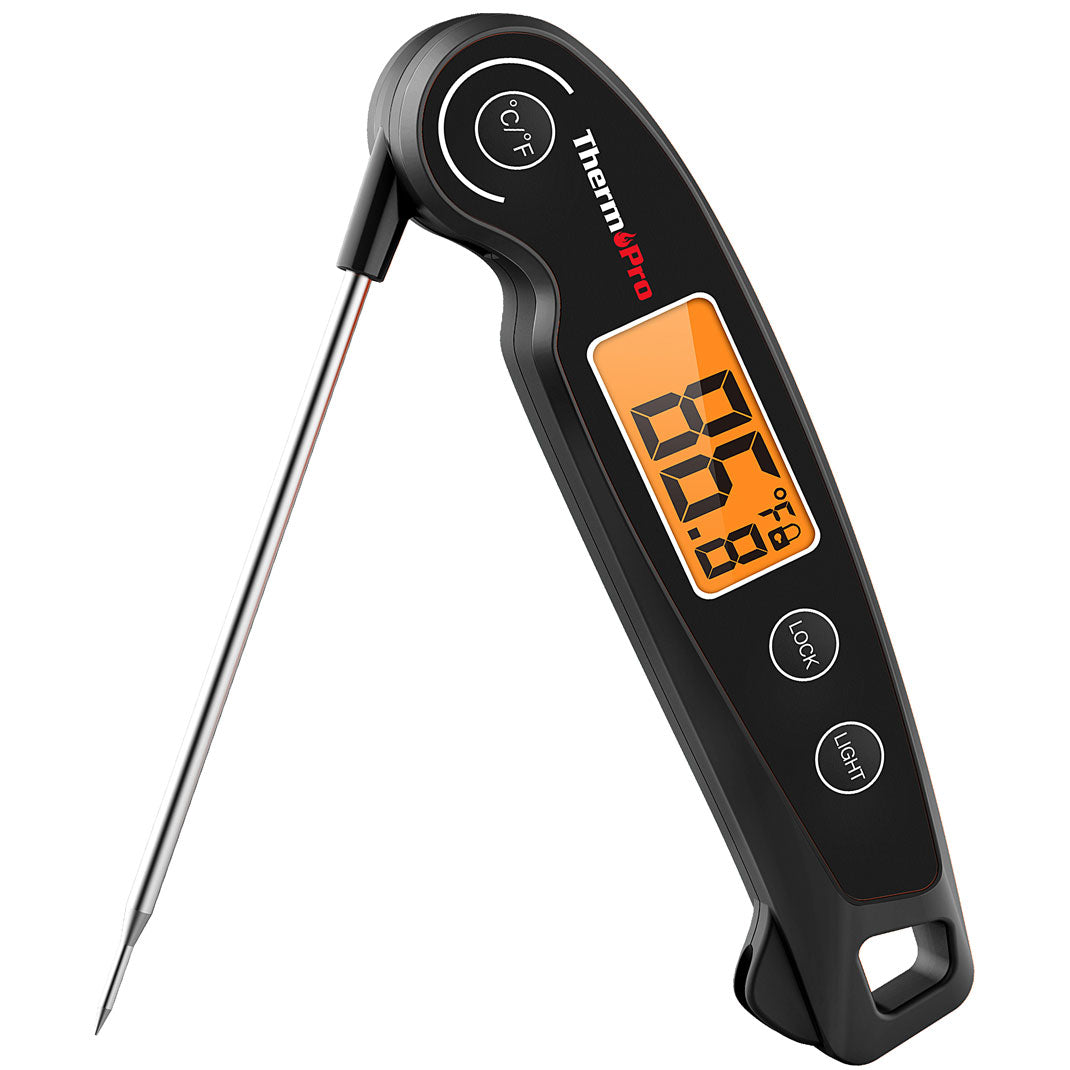
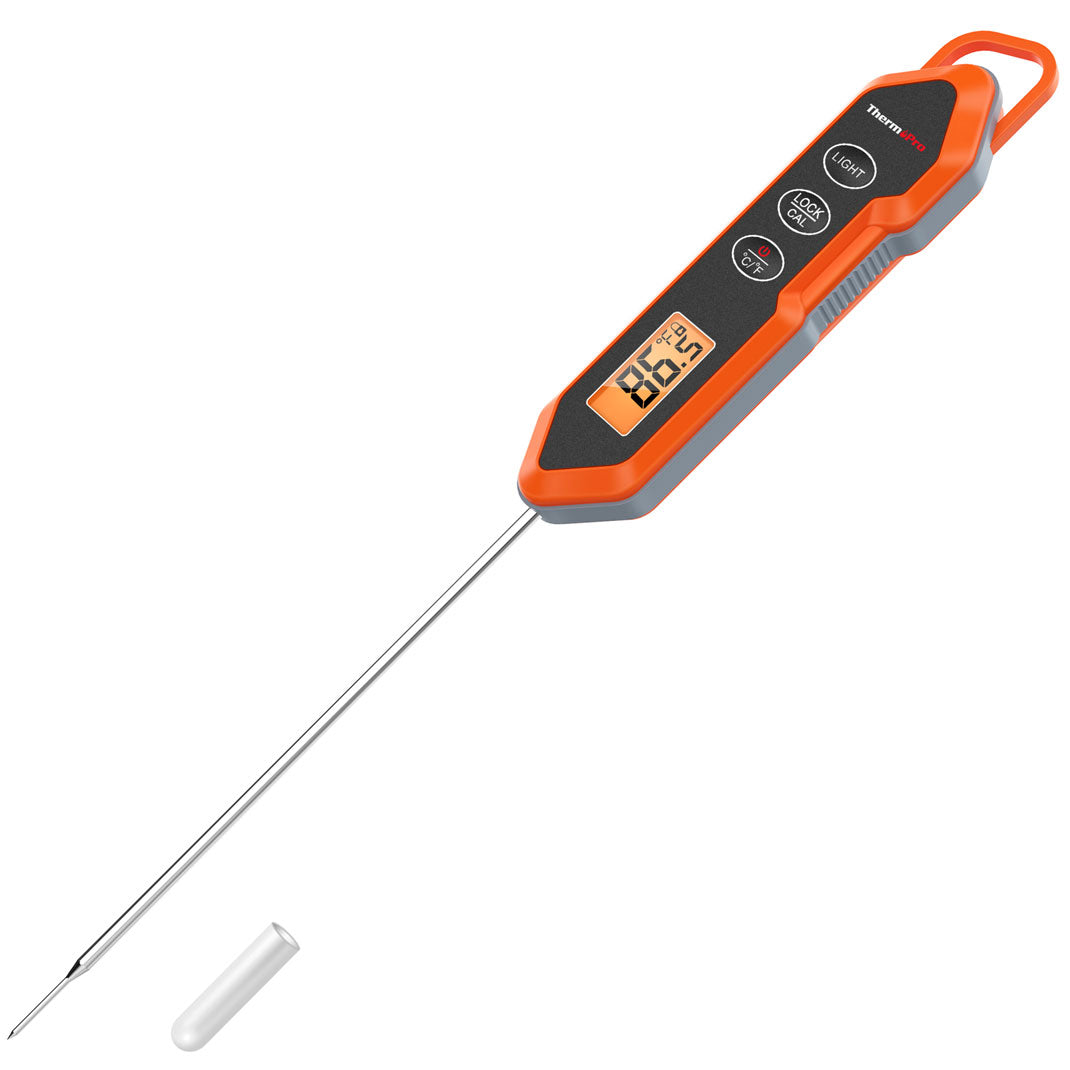
1. Choose the Right Type of Thermometer: Choose an instant-read meat thermometer or an oven-safe thermometer. These thermometers provide accurate readings, but have different operation methods.
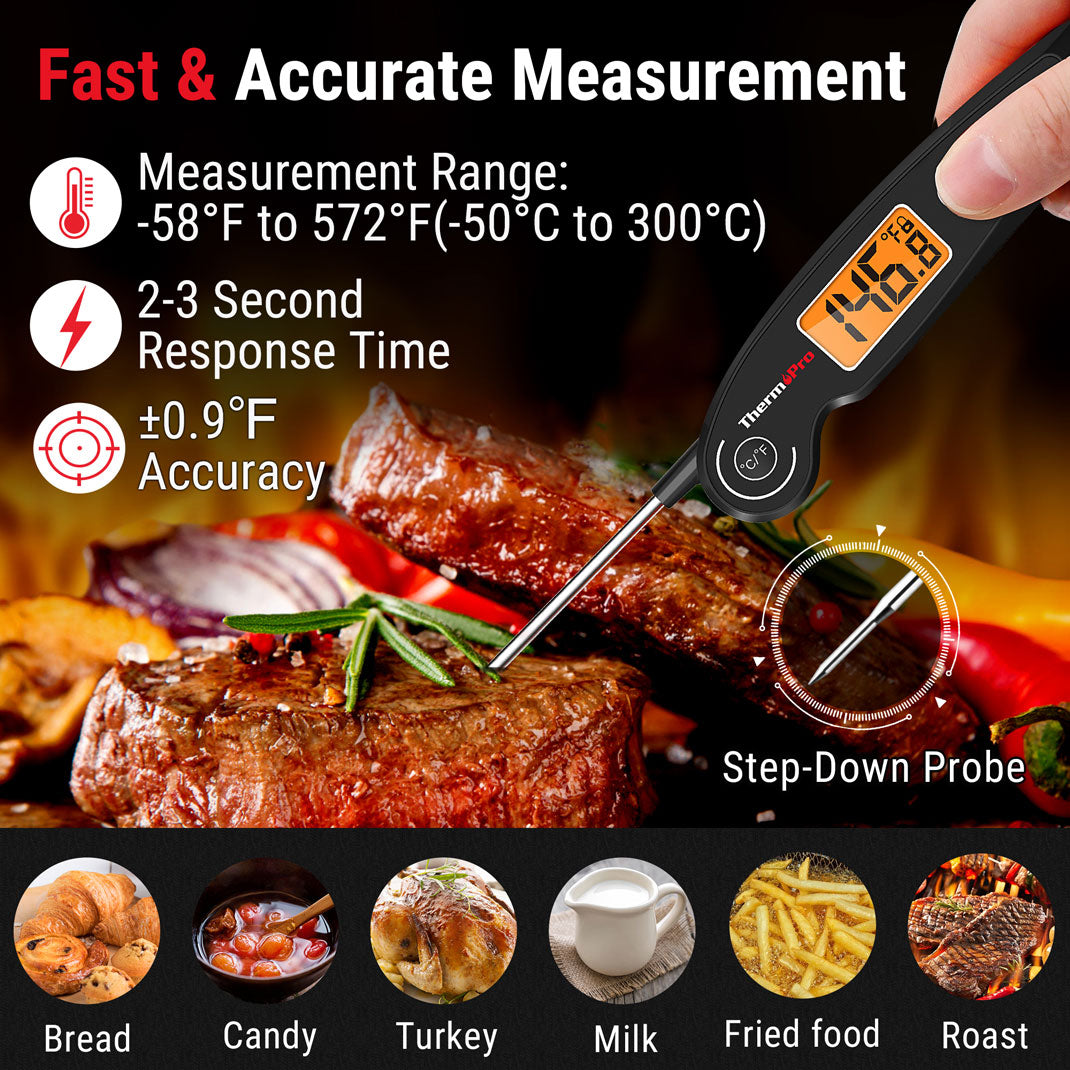
2. Place Thermometer Appropriately: Stick the thermometer about 2 to 3 inches deep into the meat, making sure it reaches the meat’s center. Be careful not to touch the bones with the tip of the thermometer or you will obtain a wrong reading.
3. Check the Temperature During Cooking: If using an oven-safe thermometer, you can leave it in the turkey throughout the cooking process and periodically check the temperature. For those using an instant-read thermometer, check the temperature when the cooking time is almost over.
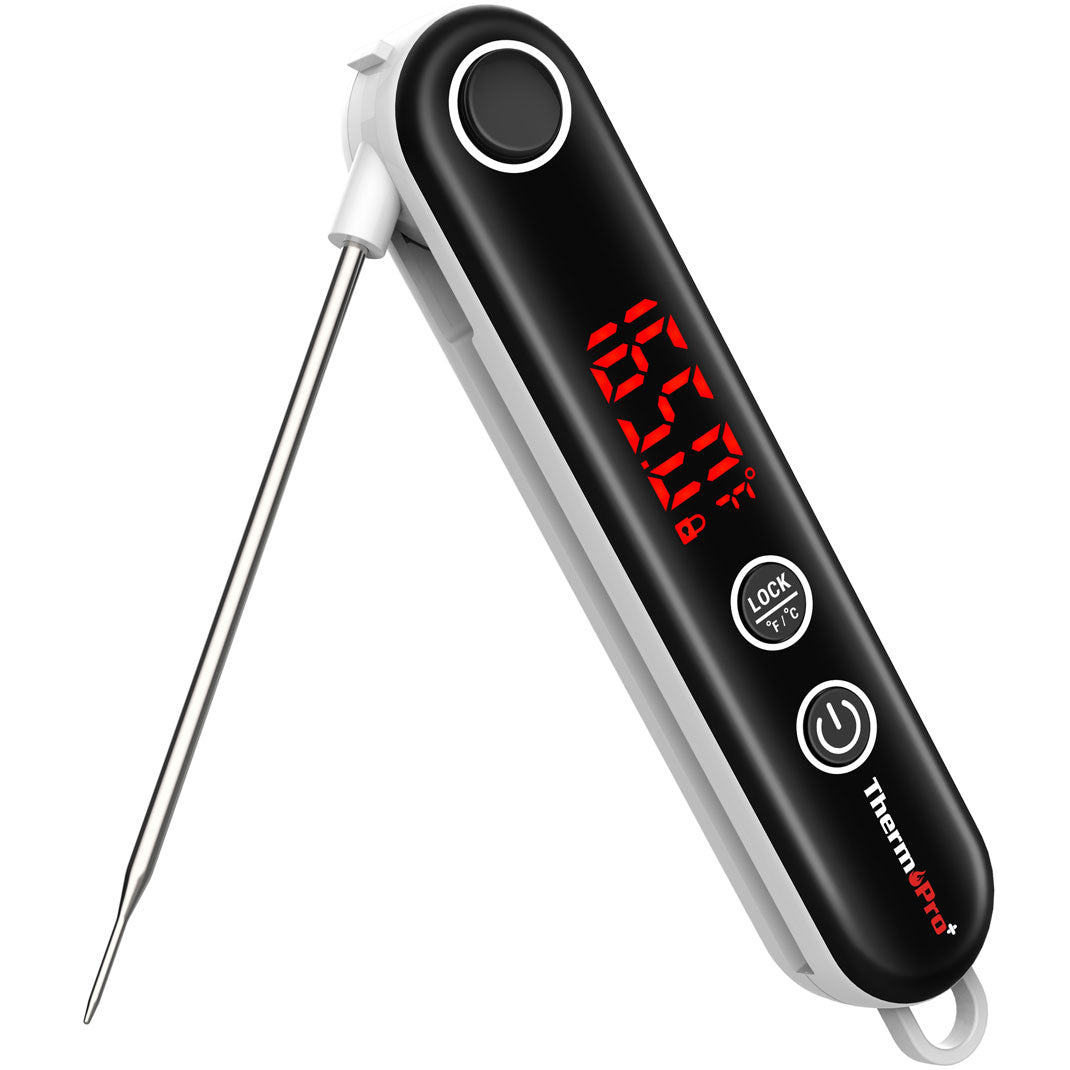
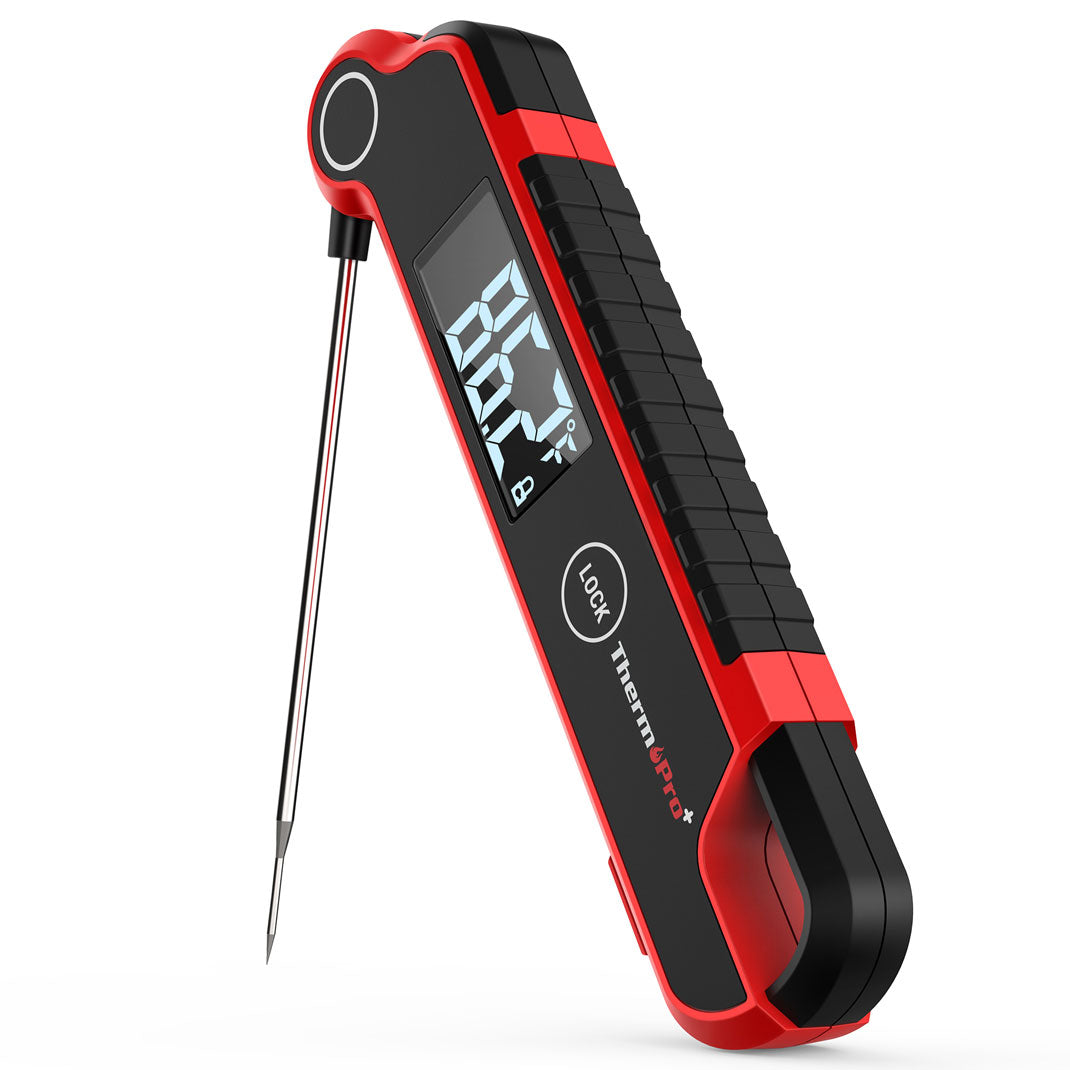
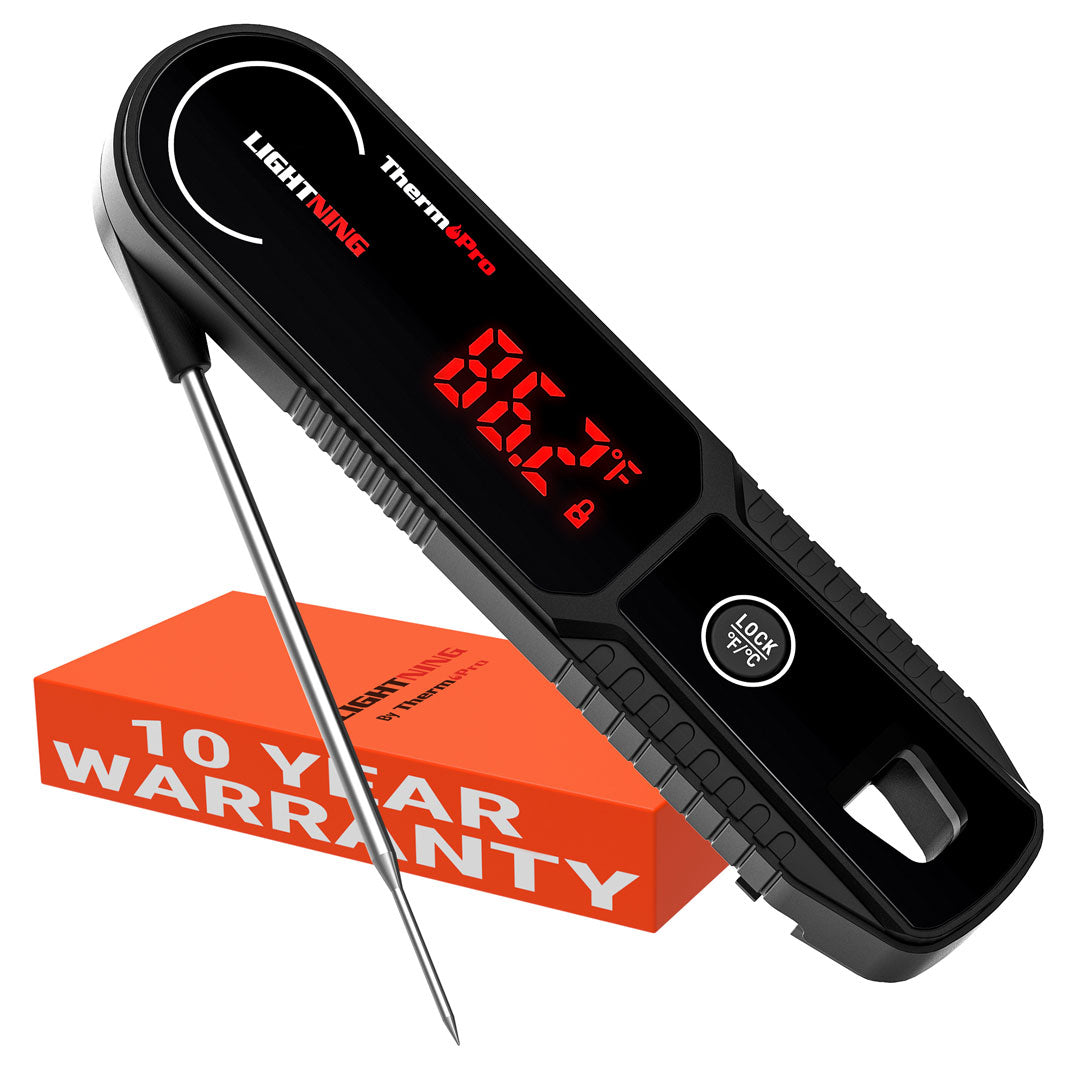
Why Choose the ThermoPro Lightning One-Second Instant Read Meat Thermometer?
The ThermoPro Lightning One-Second Instant-Read Meat Thermometer comes highly recommended because of its precision, speed, and ease of use. This particular thermometer is engineered for accuracy and displays a temperature reading in just one second. No need to play guessing games; test the temperature of your turkey perfectly each time.
Key Features of the ThermoPro Lightning One-Second Instant-Read Meat Thermometer
- One-Second Reading: This instant-read meat thermometer reads a turkey’s temperature in just one second with great accuracy, which saves time and resources.
- Waterproof Design: It is easy to keep clean and well-maintained without being damaged by water.
- Extra-Large Backlit Display: Clearly displays the temperature, whether in a dark kitchen or outside.
- Calibration Feature: This feature keeps the thermometer accurate for a longer period, thus extending its usefulness and reliability.


Comments
You May Also Like
What Is the Most Accurate Meat Thermometer in 2024?
Meat Cooking Temperatures: Beef Temperature
How to Grill Tuna Steaks?