Guía de incubadoras de pollos: Temperaturas óptimas para una eclosión exitosa


 288 Comments


Incubar huevos de gallina es un proceso emocionante y gratificante, tanto si crías aves de corral como si vives en una pequeña granja. Pero si quieres pollitos sanos y esponjosos al final de tu proceso de 21 días, necesitas acertar con la temperatura de incubación. Este artículo te guiará a través de la ciencia de la incubación, los niveles ideales de temperatura y humedad, y cómo monitorearlos con precisión con el termómetro higrómetro digital ThermoPro TP357 .
¿Por qué es importante la temperatura al incubar huevos de gallina?
Al usar una incubadora de pollos, básicamente se reemplaza el rol de una gallina clueca. Los huevos de gallina fecundados necesitan un entorno muy específico para desarrollarse adecuadamente. Incluso pequeñas fluctuaciones de temperatura pueden provocar retrasos en la eclosión, deformidades o incluso la muerte del embrión.
La temperatura óptima para la eclosión de huevos de gallina suele rondar los 37,5 °C (99,5 °F) en una incubadora de aire forzado. Para incubadoras de aire estancado, se recomienda una temperatura ligeramente superior, de 38,3 a 38,8 °C (101 a 102 °F), para compensar la falta de circulación.
La temperatura de eclosión de los huevos de gallina debe mantenerse constante durante los 21 días del período de incubación. Las fluctuaciones superiores a 1 °F pueden afectar gravemente la tasa de eclosión. Especialmente para los principiantes, un termómetro fiable es esencial.

Comprender la temperatura y la humedad de la incubación de los pollos
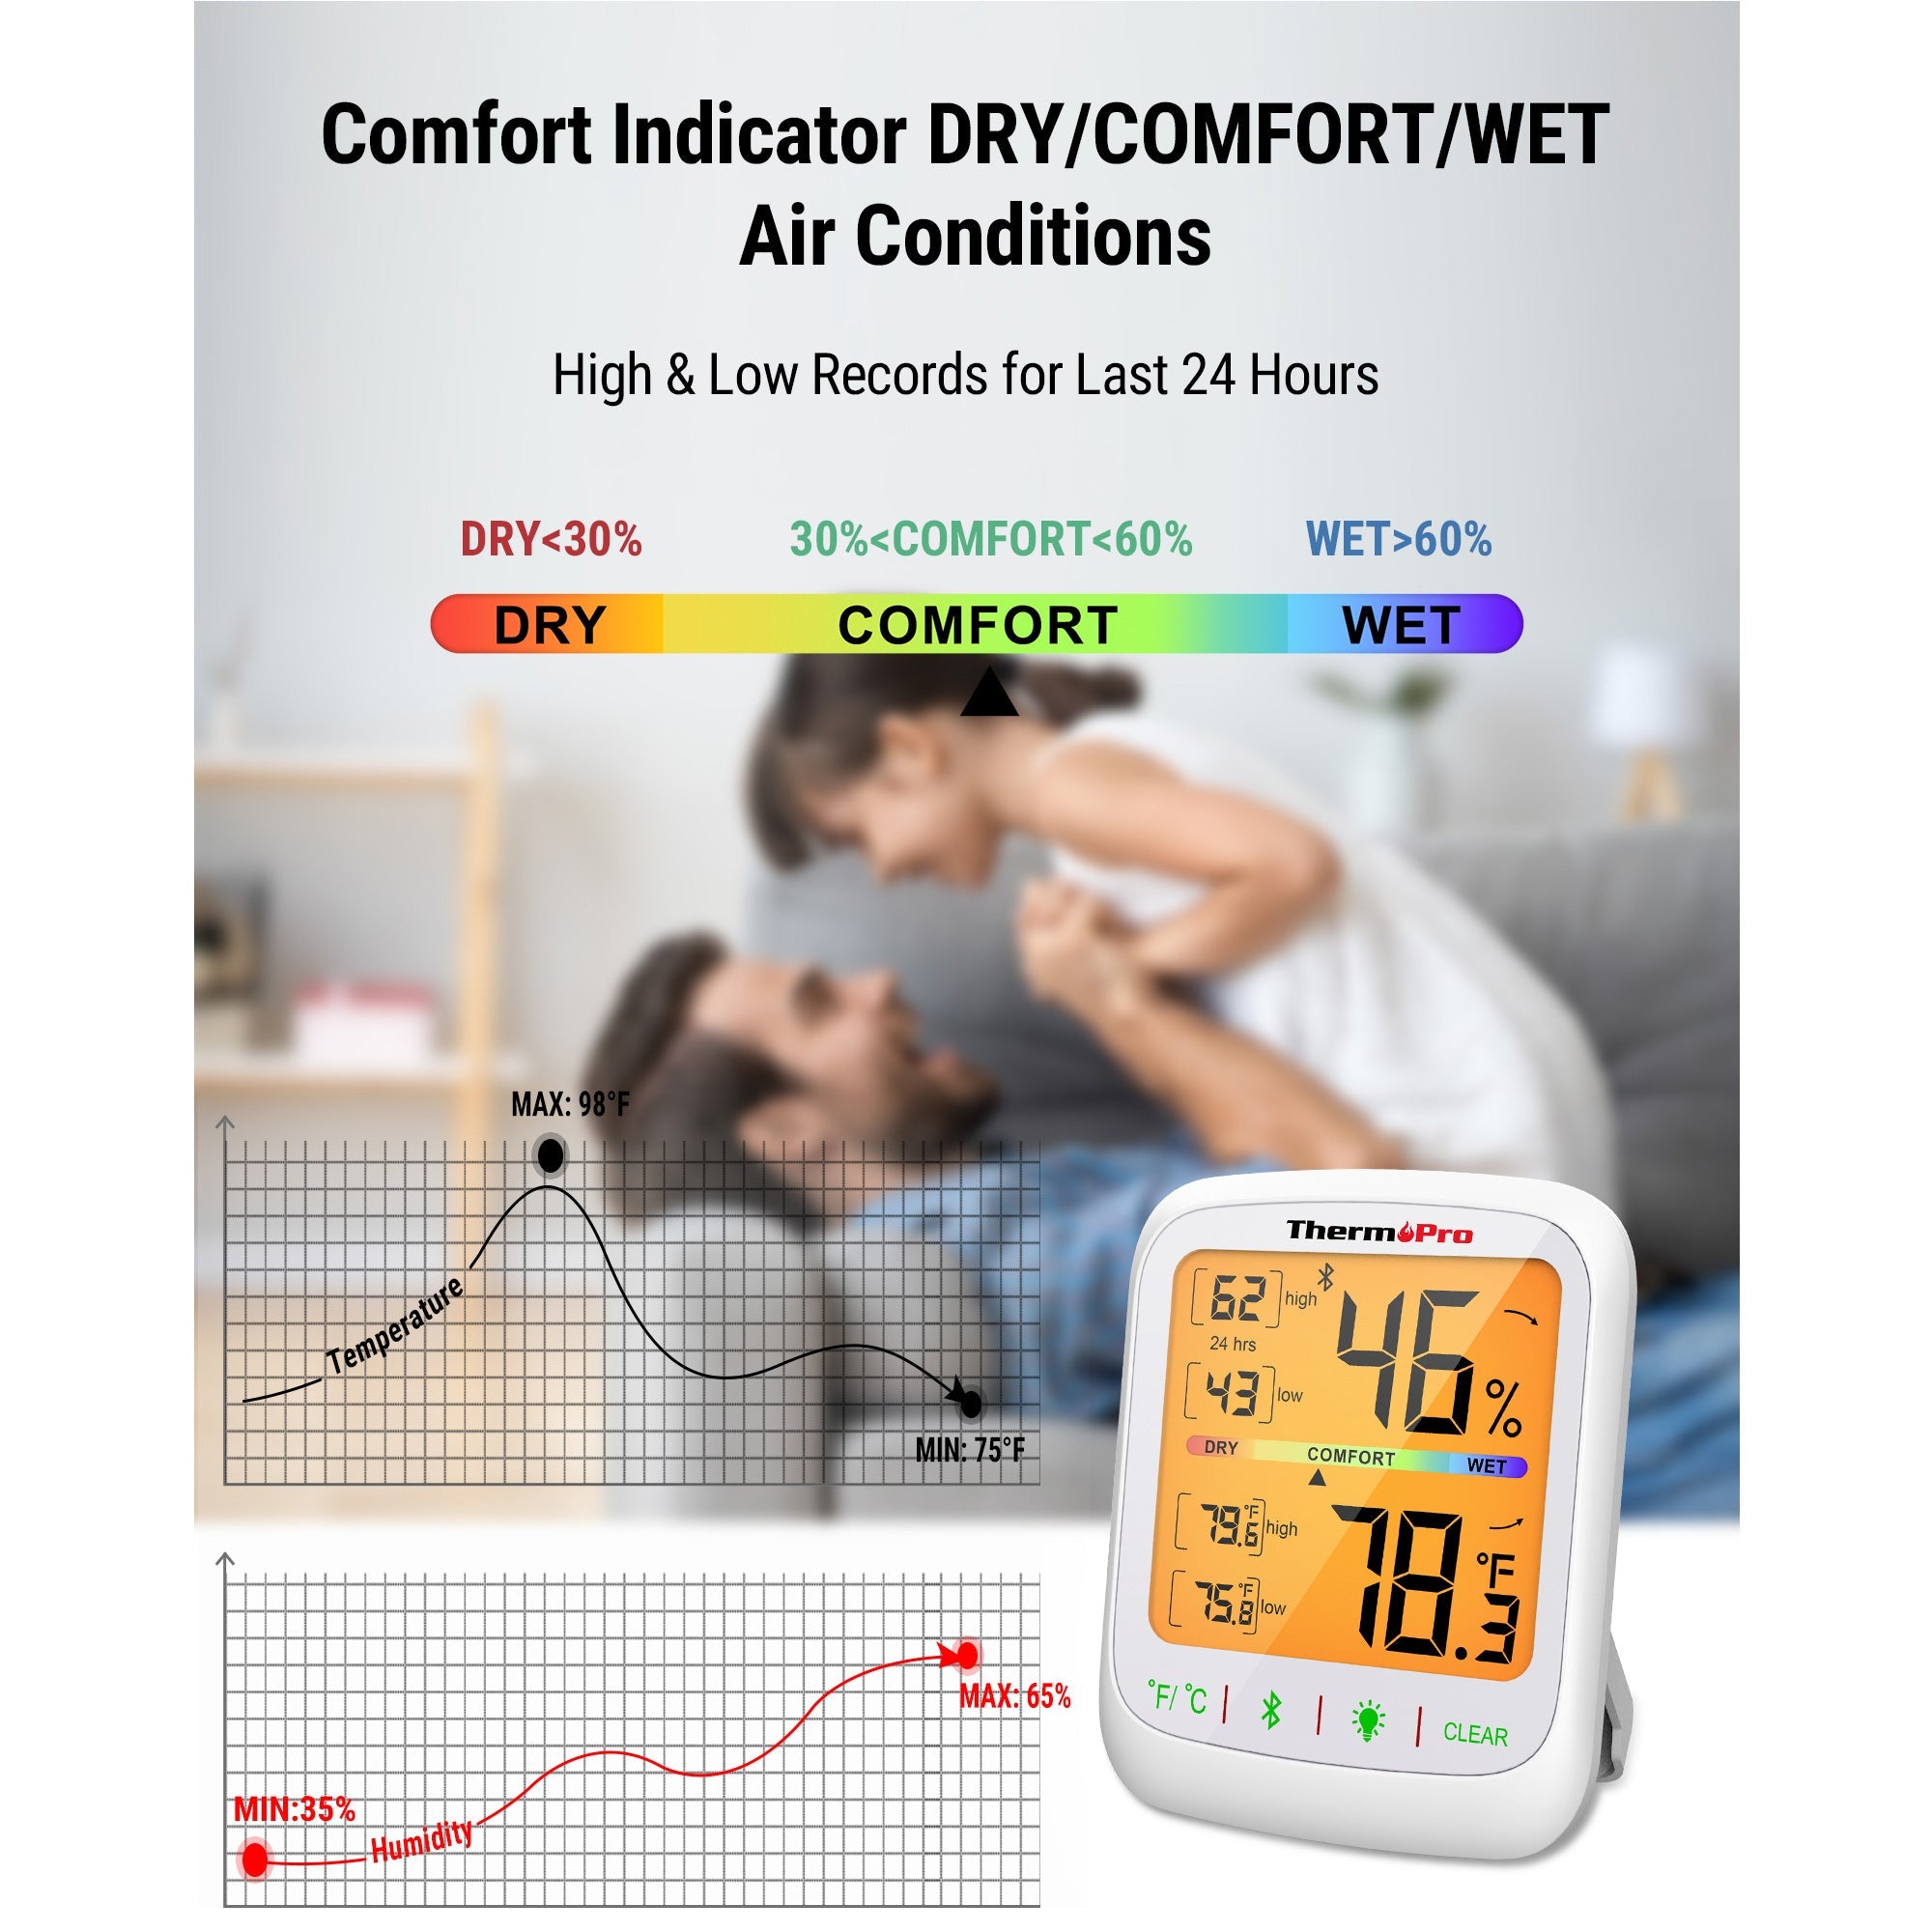
Además de la temperatura, la humedad juega un papel fundamental en el éxito de la eclosión. Durante la incubación, los huevos pierden humedad a un ritmo constante. Esta pérdida de agua facilita el crecimiento de la cámara de aire dentro del huevo, preparando al pollito para la eclosión.
Aquí está el desglose:
- Días 1–18: Mantener la humedad entre 45–55%.
- Días 19 a 21 (período de confinamiento): aumentar la humedad al 65-70 %.
Este equilibrio garantiza que los huevos de gallina fertilizados no se sequen ni se humedezcan demasiado. La temperatura adecuada de la incubadora, combinada con una humedad controlada, ofrece a sus pollitos el mejor comienzo en la vida.
Errores comunes al usar una incubadora de huevos de gallina
Los nuevos criadores de pollos a menudo enfrentan contratiempos debido a un manejo deficiente de la temperatura. Estos son algunos problemas comunes:
- No calibrar el termómetro en la incubadora de pollos
- Confiando únicamente en la lectura de la incubadora incorporada
- Colocar el termómetro demasiado cerca del elemento calefactor
- No ajustar la humedad en función de las condiciones ambientales
Para monitorear la temperatura de incubación de los pollos se necesita una herramienta confiable y precisa, y ahí es donde entra en juego el ThermoPro TP357.
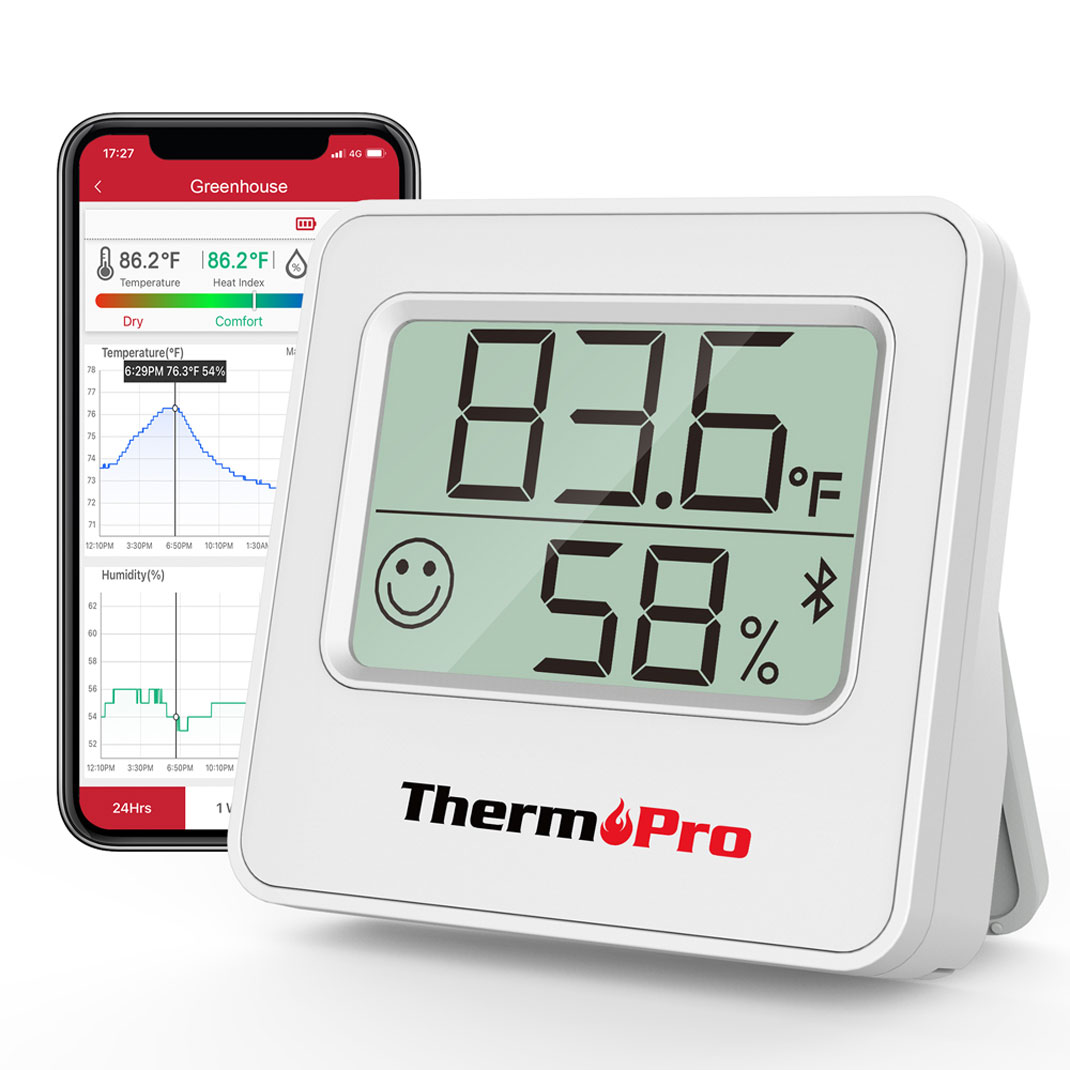
¿Por qué utilizar el termómetro higrómetro digital ThermoPro TP357?
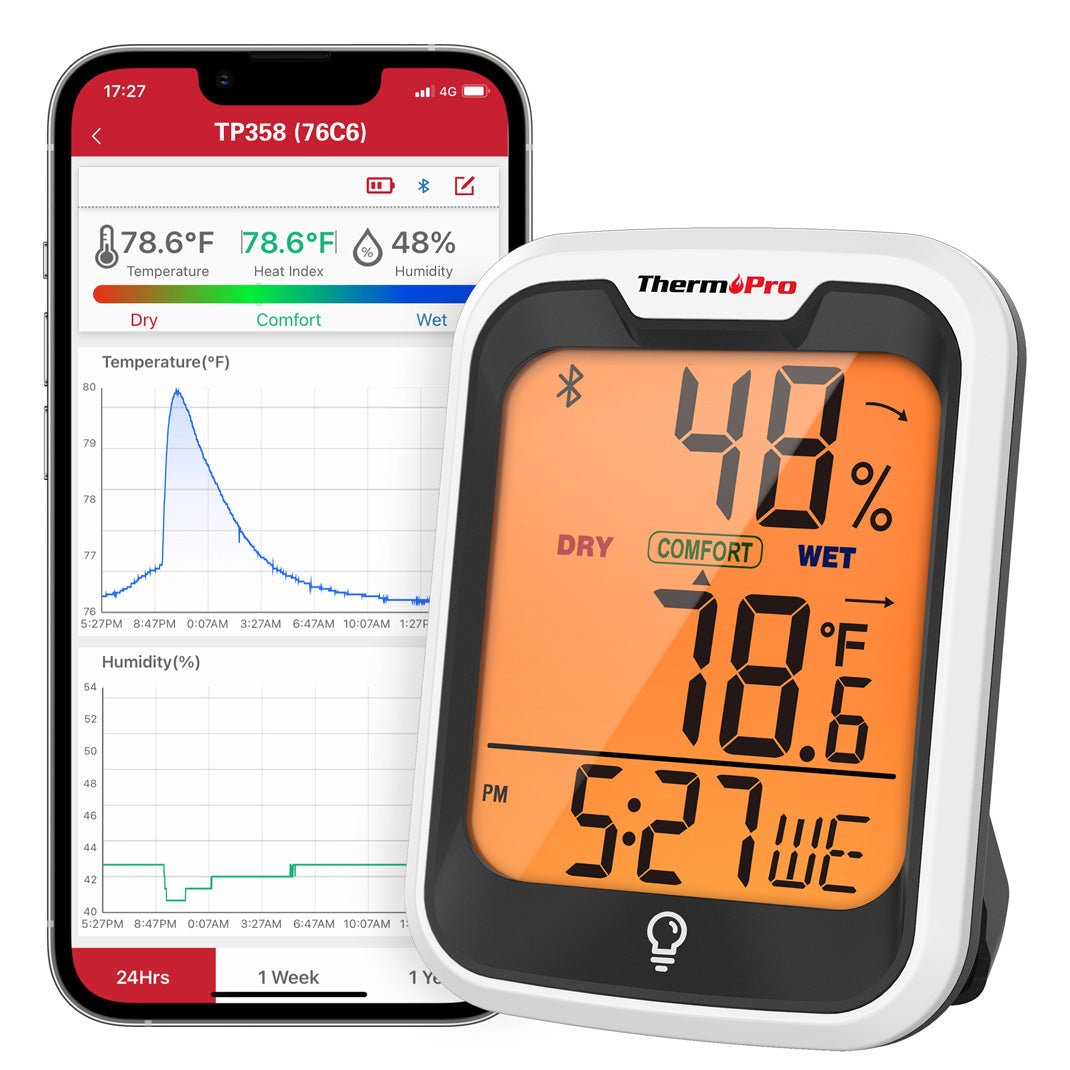
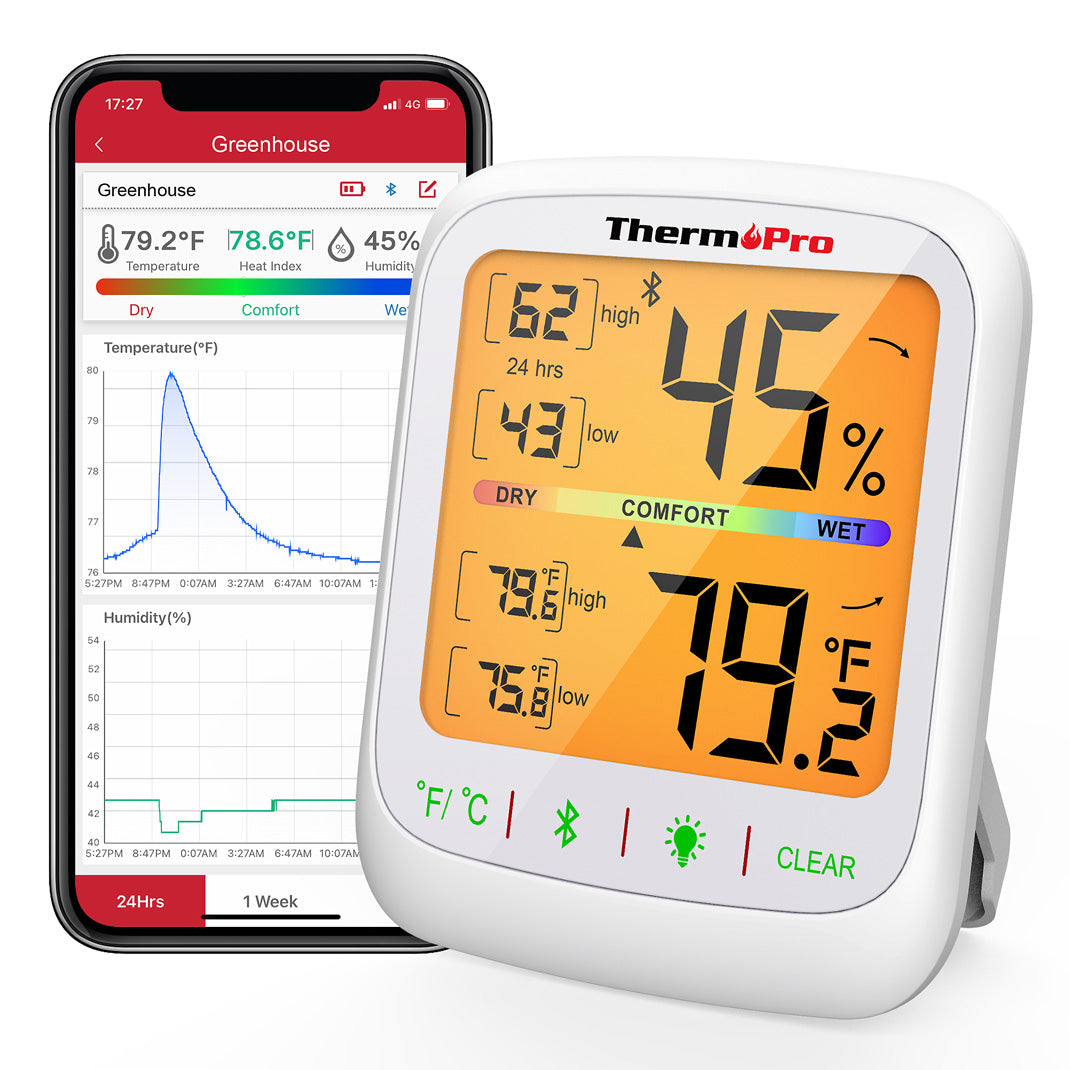
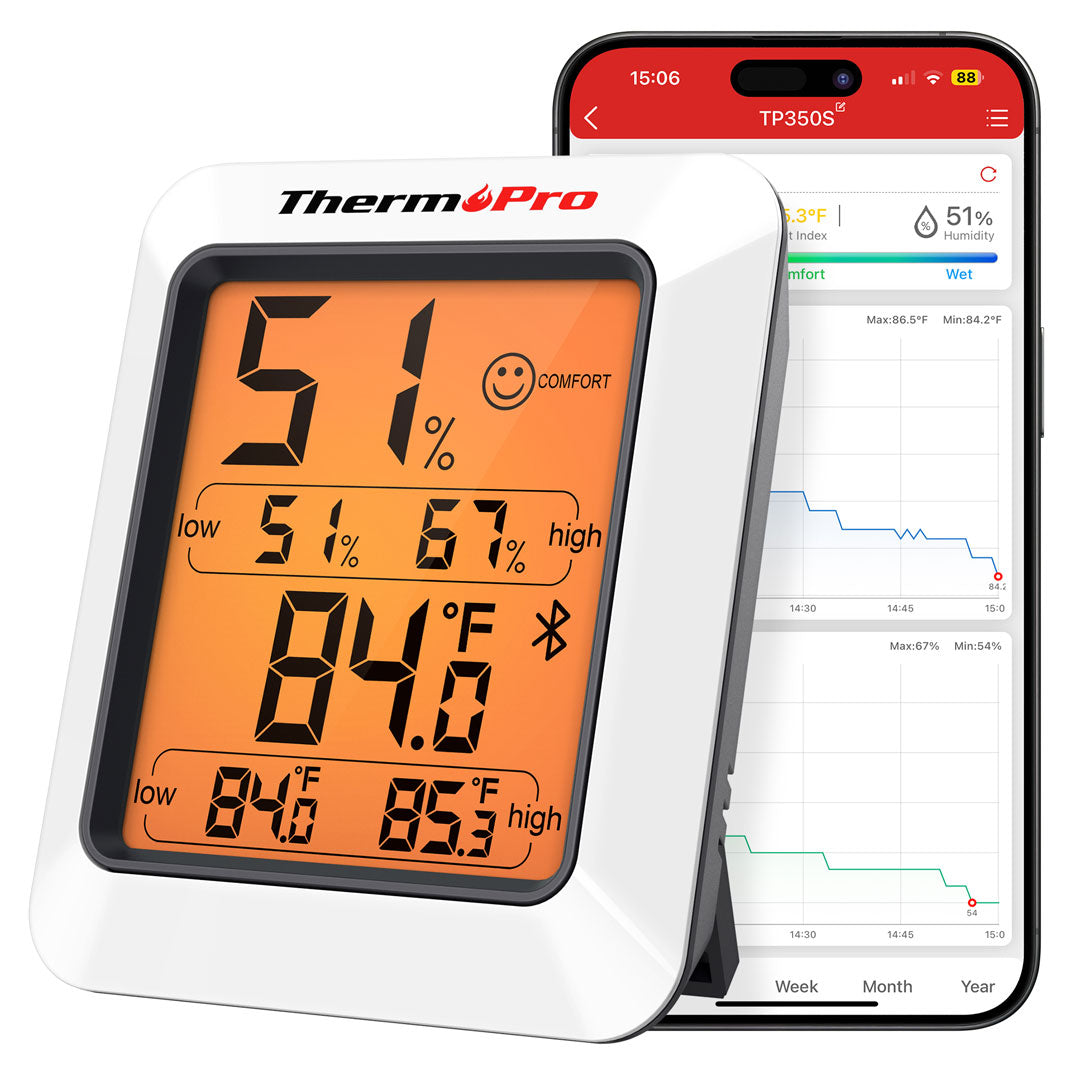
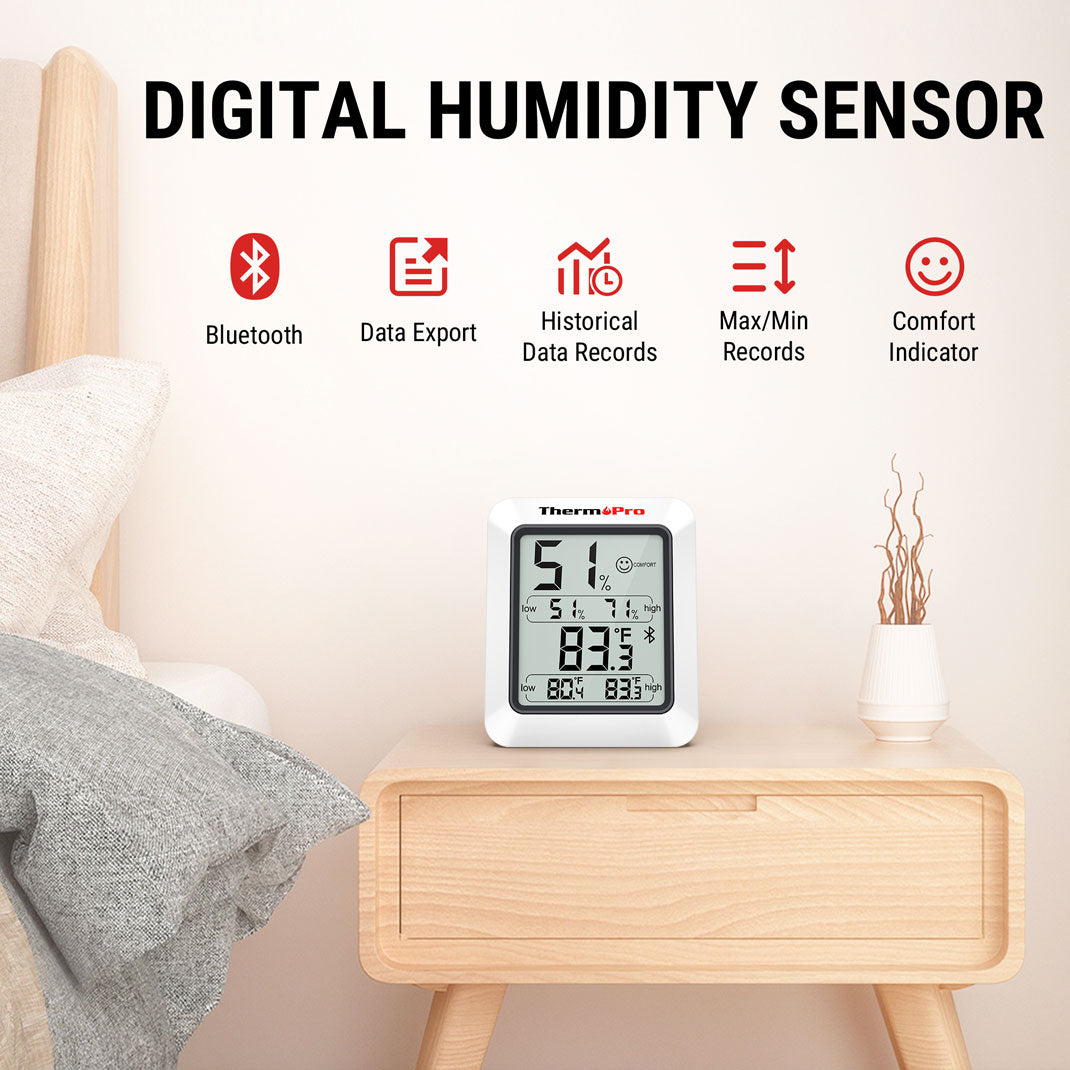
El termómetro higrómetro digital ThermoPro TP357 es más que un simple termómetro. Es un potente dispositivo de monitoreo que le ayuda a controlar la temperatura y la humedad en tiempo real. Sus características lo hacen perfecto para la gestión de incubadoras de huevos de gallina:
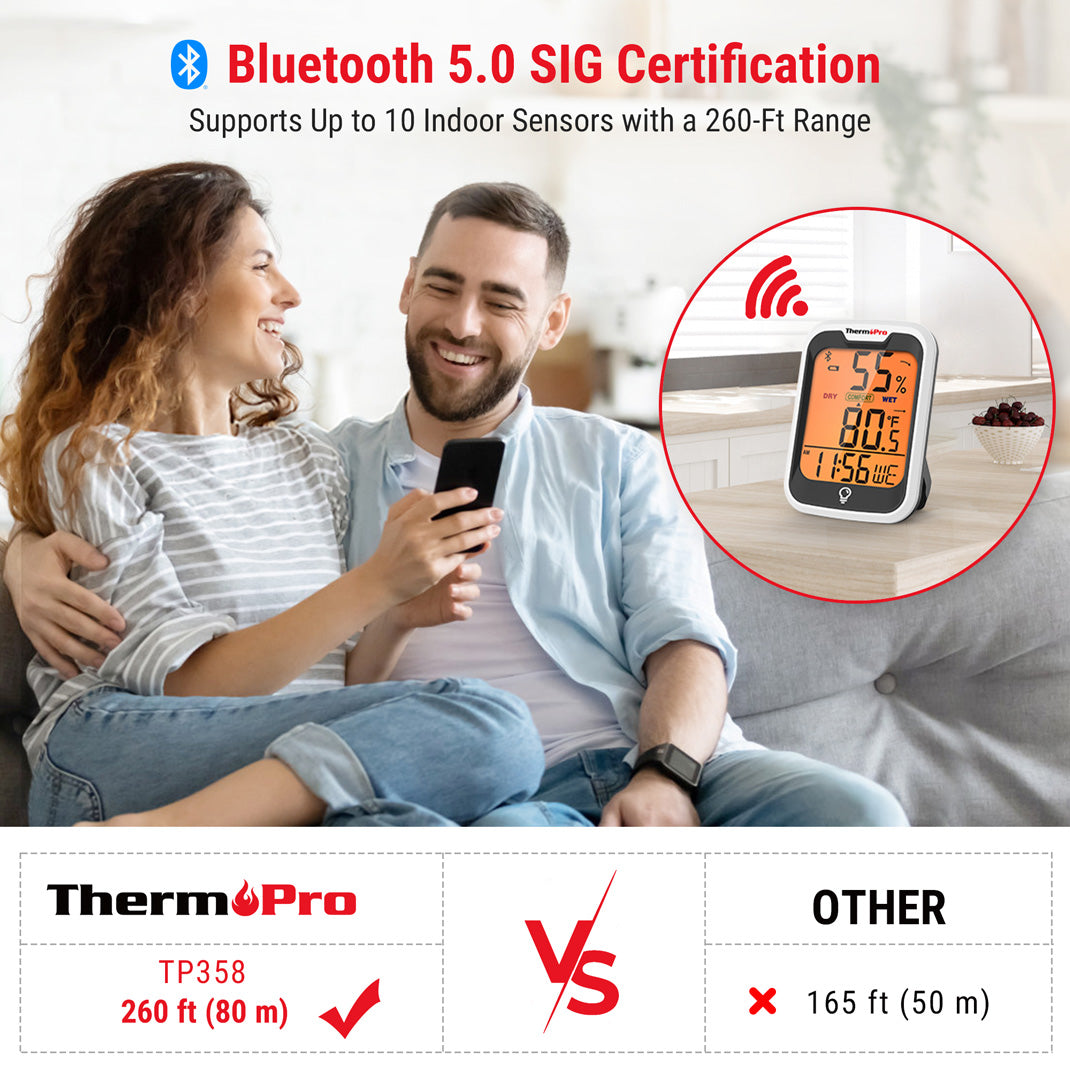
- Alcance remoto Bluetooth de 260 pies;
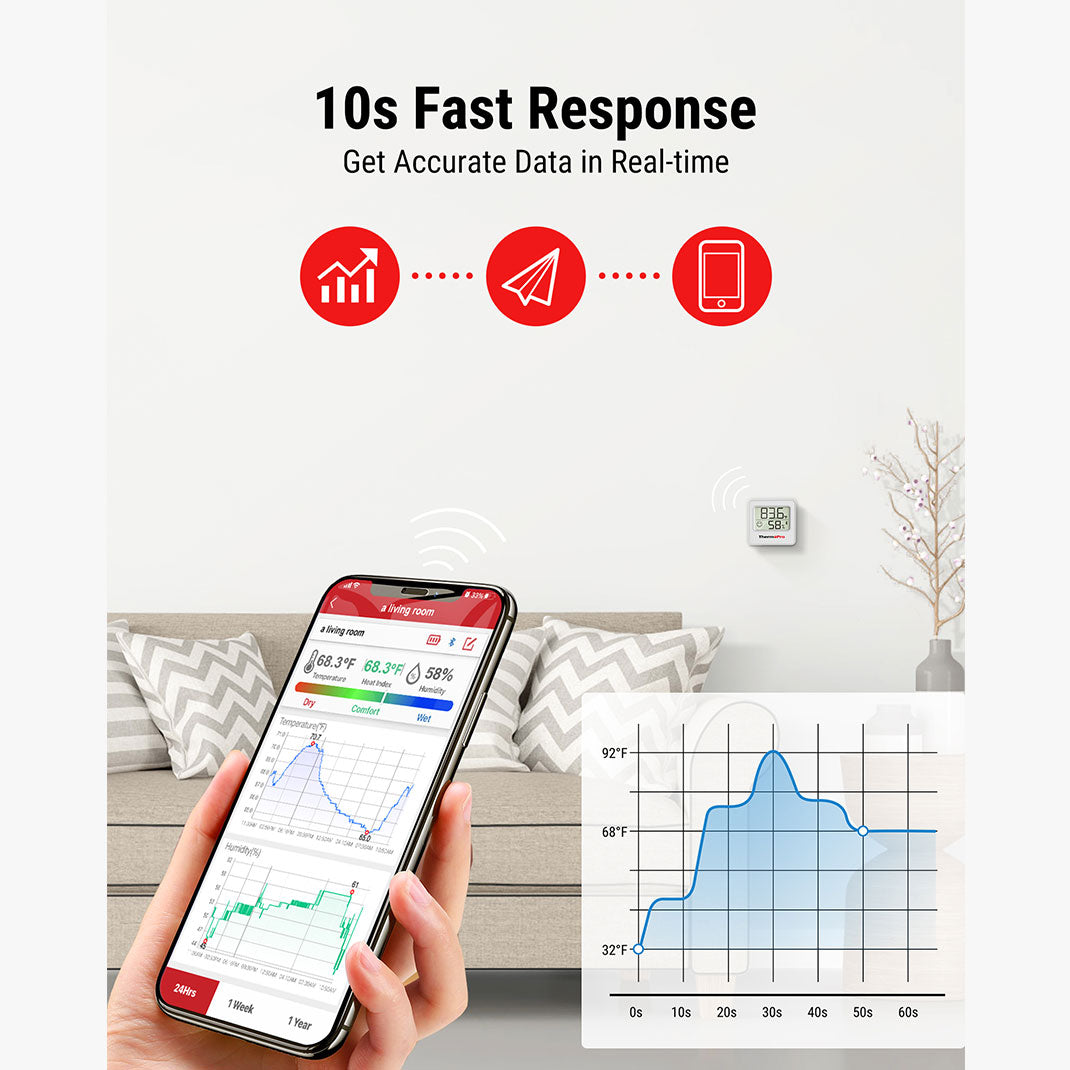
- Monitoreo de aplicaciones en tiempo real con alertas;
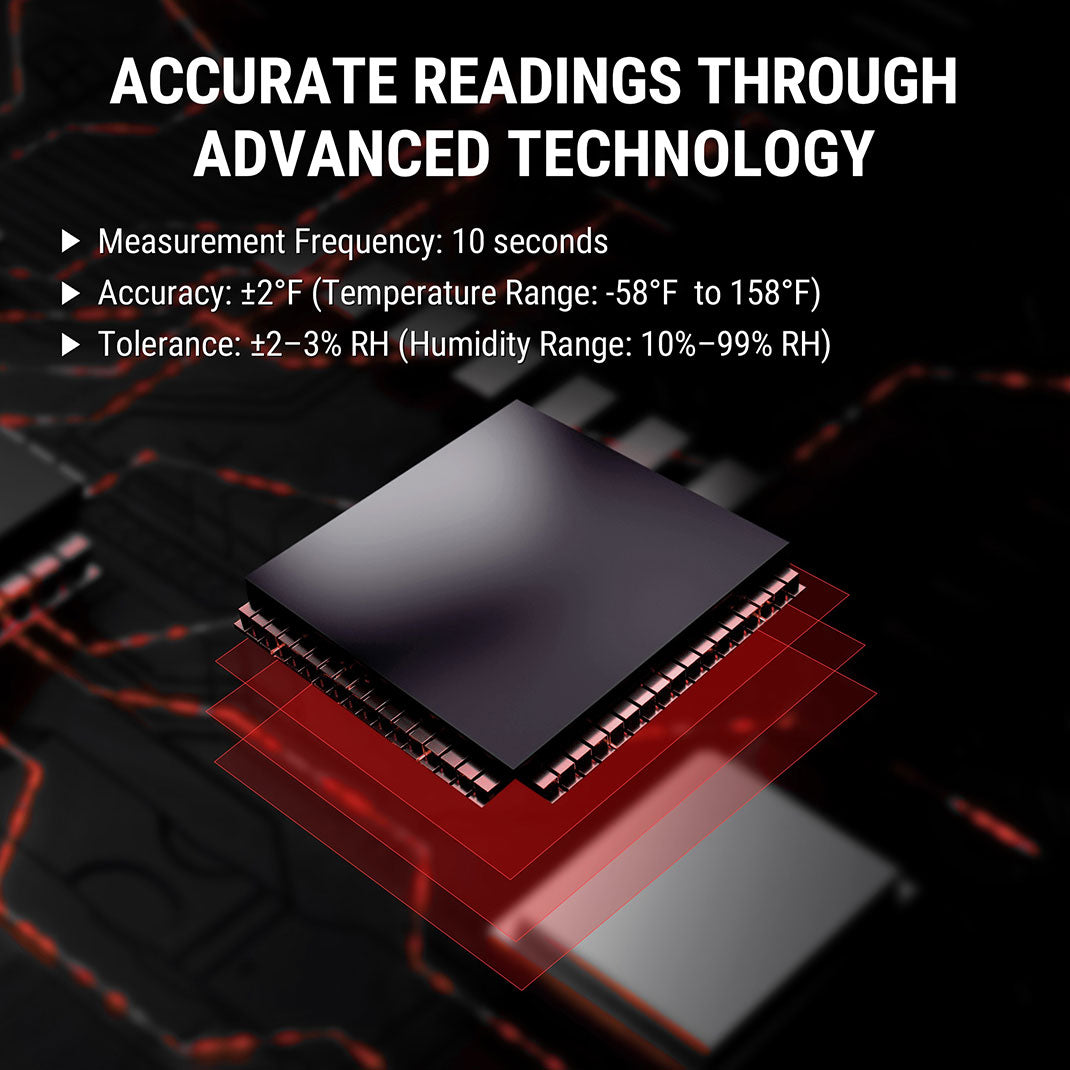
- Sensores precisos tanto para temperatura como para humedad;
- Registros máximos y mínimos para realizar un seguimiento de los cambios ambientales

Ya sea que tenga una incubadora de bricolaje o una unidad comercial, la TP357 le permite administrar con confianza la mejor temperatura para incubar huevos de gallina, incluso desde otra habitación.
Cómo preparar su incubadora para obtener condiciones óptimas
Siga estos pasos para obtener mejores resultados:
- Coloque su incubadora en una habitación sin corrientes de aire y alejada de la luz solar directa.
- Precaliente su incubadora 24 horas antes de agregar los huevos.
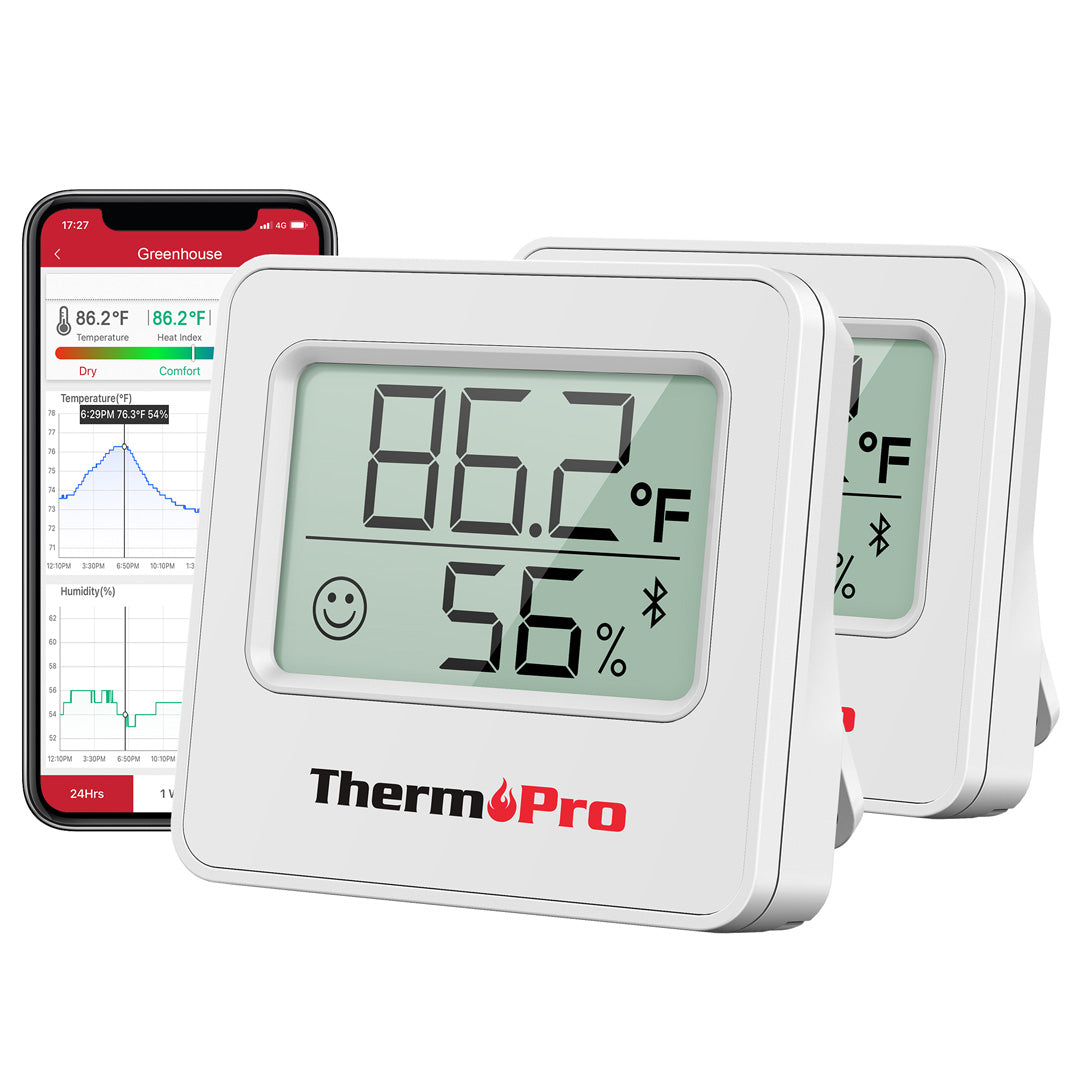
- Utilice dos termómetros higrómetros para verificar la precisión.
- Coloque sensores al nivel de los huevos dentro de la incubadora.
- Ajuste las bandejas de agua o esponjas para controlar la humedad.
Evite abrir la tapa con demasiada frecuencia, especialmente durante el confinamiento (días 19 a 21). Una fluctuación excesiva en la temperatura de incubación de los huevos de gallina en esta etapa puede impedir la eclosión.
Qué hacer si las temperaturas fluctúan
Si se corta la luz o la incubadora no funciona correctamente, no se asuste. Aquí tiene algunos consejos de emergencia:
- Aísle la incubadora con mantas
- Utilice calcetines de arroz tibios o bolsas de agua caliente como fuente de calor temporal.
- Mantenga la monitorización con el ThermoPro TP357 para evitar el sobrecalentamiento
Generalmente, se puede sobrevivir a breves descensos de 1 a 2 °F durante menos de una hora, pero cualquier cambio mayor podría afectar la tasa de eclosión. Una intervención rápida es clave.

Solución de problemas: si sus huevos no eclosionan
Incluso las incubadoras experimentadas pierden algunos embriones. Estas son las posibles causas:
- Temperatura de la incubadora de pollos demasiado baja o demasiado alta
- niveles de humedad incorrectos
- Problemas de fertilidad con los óvulos
- Girar los huevos con poca frecuencia
Si tiene varias gallinas en la incubadora, pero solo unas pocas eclosionan, revise los huevos después del día 7 para verificar su desarrollo. Después del día 21, abra los huevos no eclosionados para examinar el desarrollo embrionario. Tome notas para mejorar la situación en la siguiente eclosión.
Después de la eclosión: Cómo mantener la temperatura de la criadora
Su trabajo no termina una vez que nacen los pollitos. Durante la primera semana, mantenga la temperatura de la criadora en torno a los 35 °C, reduciéndola 1 °C cada semana. De nuevo, su TP357 le será útil para evitar el sobrecalentamiento o el enfriamiento.
Pollitos felices = bandada saludable.
Conclusión: Domine el arte de la incubación
Conseguir la temperatura ideal para la eclosión de huevos de gallina no es cuestión de conjeturas, es ciencia. Con el conocimiento, las herramientas y un monitor digital fiable como el ThermoPro TP357, puede convertir huevos fertilizados en pollitos sanos con total confianza.
Así que, si está planeando su próxima eclosión, invierta en precisión. Porque cuando se trata de la temperatura de incubación de los pollos, cada grado cuenta.