The Ultimate Guide to Chicken Thermometers


 288 Comments


Cooking delicious and safe chicken requires the right kitchen tools. Among the most required tools in the kitchen, the chicken thermometer stands out as a must-have for anyone who takes their culinary endeavors seriously.
Whether you’re a seasoned chef or a home cook, achieving the correct internal temperature is the key to ensuring your chicken is not only delicious but also safe to eat.
What Is a Chicken Thermometer
A chicken thermometer is a specialized kitchen tool used to measure the internal temperature of your chicken during the cooking process, ensuring that your chicken is cooked to the ideal temperature.

Why You Need a Chicken Thermometer
The importance of using a chicken temp thermometer cannot be overstated, especially when it comes to food safety and cooking quality. Here are several reasons why every kitchen should have a reliable chicken thermometer.
1. Ensure Food Safety
The primary reason for using a chicken thermometer is to prevent foodborne illnesses. Chicken must reach an internal temperature of at least 165°F (74°C) to kill harmful bacteria such as Salmonella and Escherichia Coli. Without a thermometer, it can be difficult to tell if the chicken has reached a safe temperature, leaving you and your family at risk of food poisoning.
2. Avoid Undercooking And Overcooking
Cooking chicken without a thermometer often results in a guessing game. Don’t cook it long enough, and it’s undercooked. Cook it too much, and it becomes dry and unappetizing. A chicken thermometer automatically takes the guesswork out of the cooking, ensuring your chicken is cooked just right every time.

3. Enhance Cooking Confidence
Knowing that your chicken is cooked to the right temperature gives you confidence in your cooking. Whether you’re preparing a simple weeknight dinner or hosting a special party, a chicken thermometer allows you to serve your meal with pride, knowing it’s safe and delicious.
4. Support Culinary Exploration
For those who enjoy experimenting with new and different recipes, a chicken breast thermometer is indispensable. It allows you to keep precise control over the cooking process, ensuring that every dish you try will meet your high standards.
In summation, a chicken thermometer is a useful kitchen tool for anyone who wants safe and flavorful chicken every time they cook. It eliminates the uncertainty of cooking times and temperatures, giving you peace of mind and enhancing your culinary results.How to Use a Chicken Thermometer
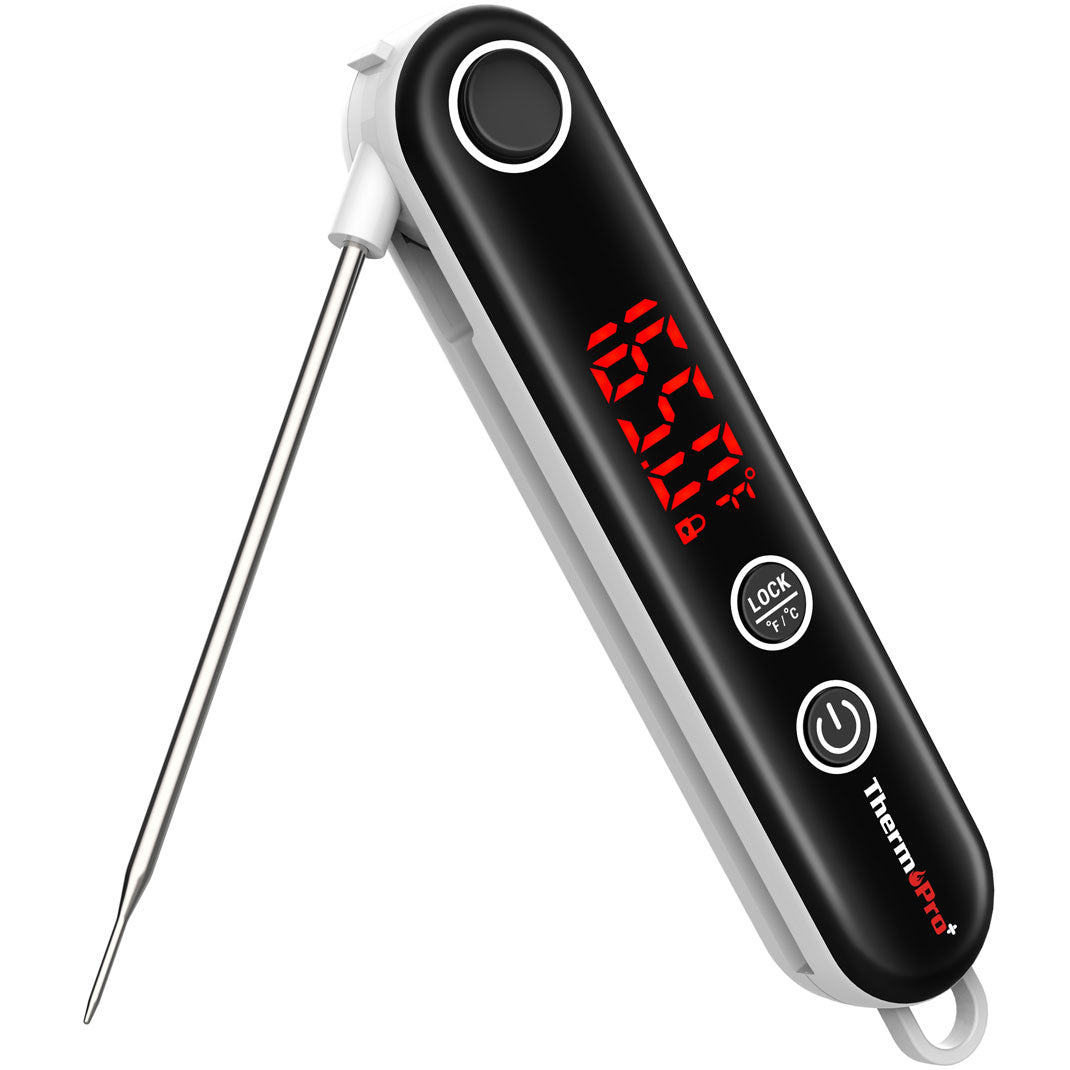
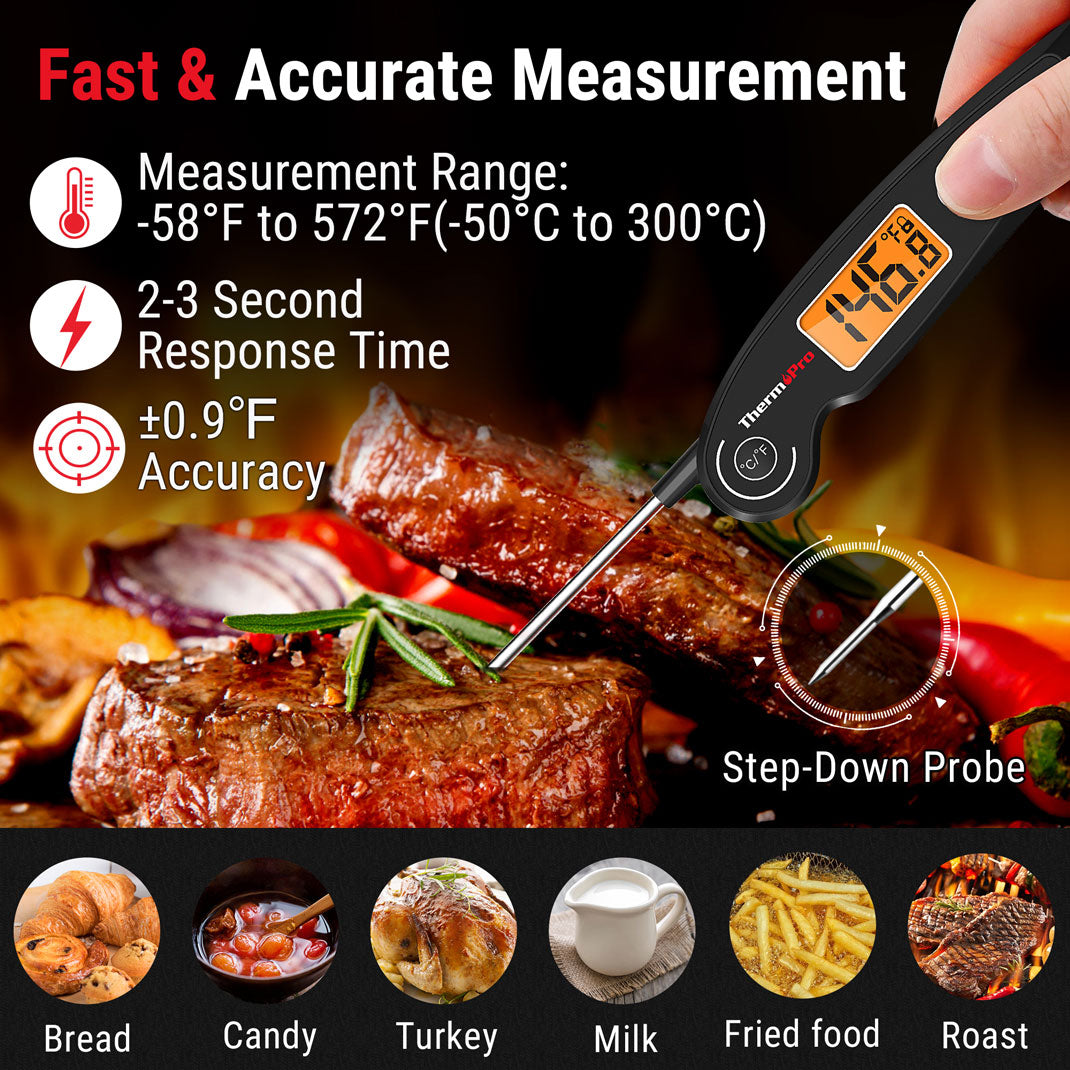
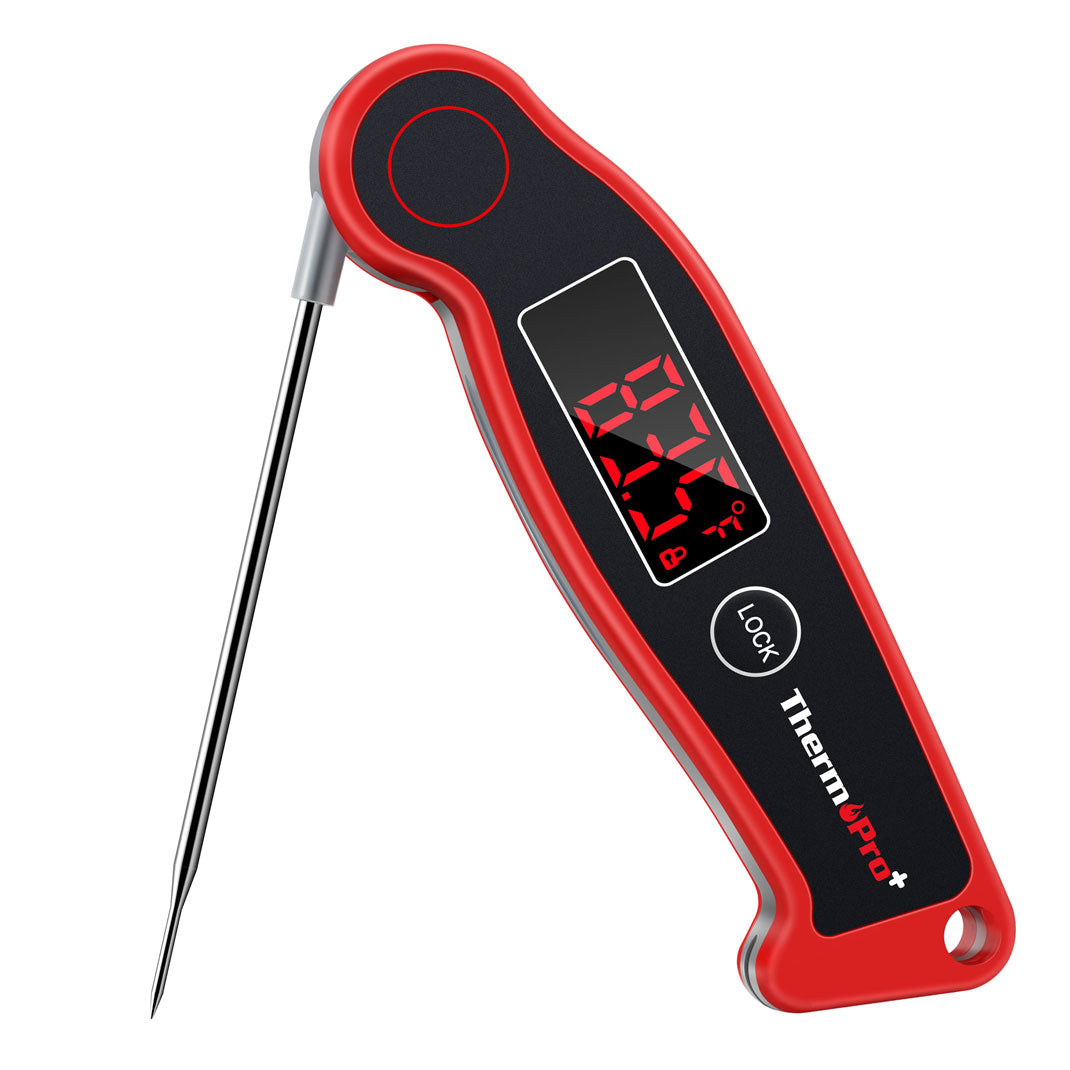
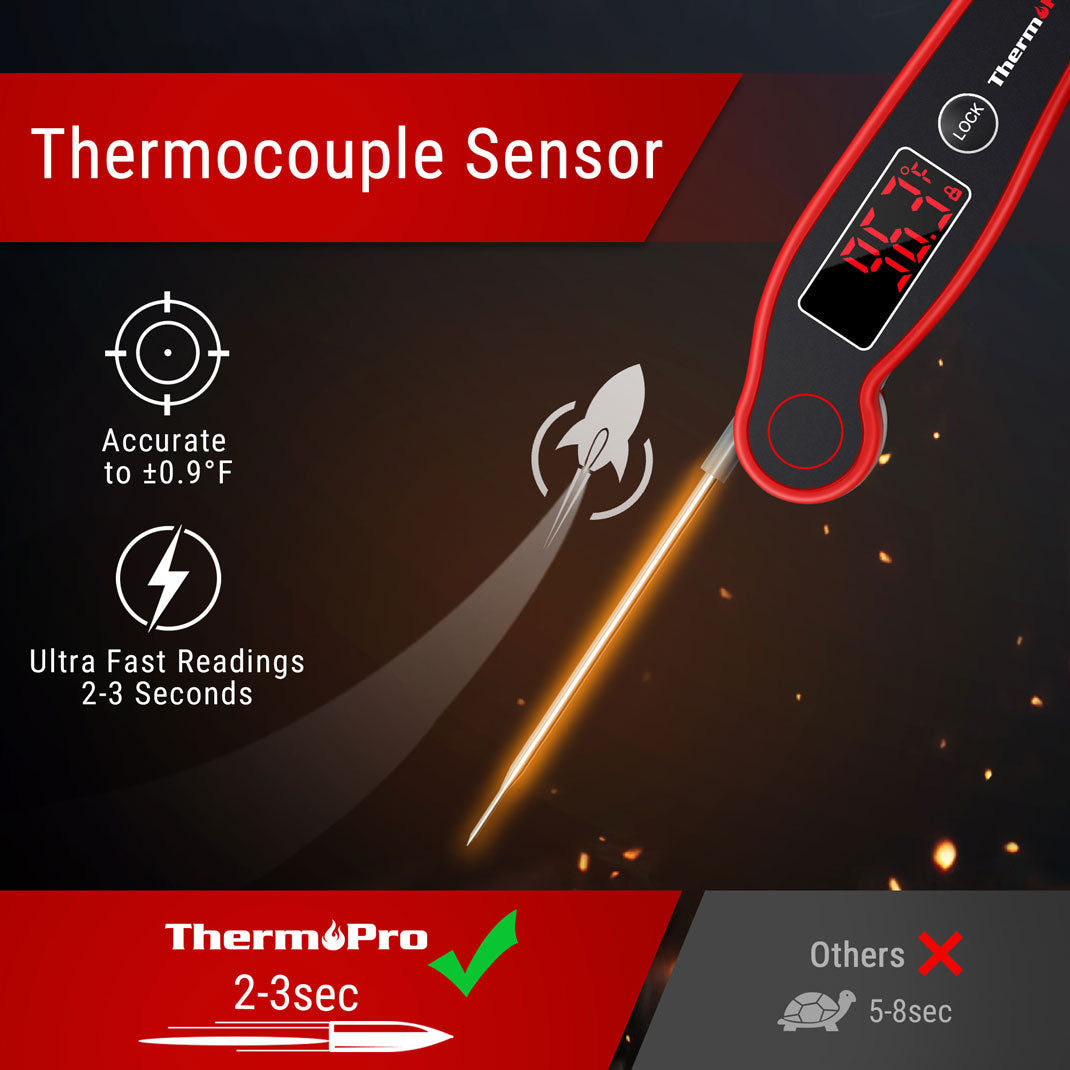
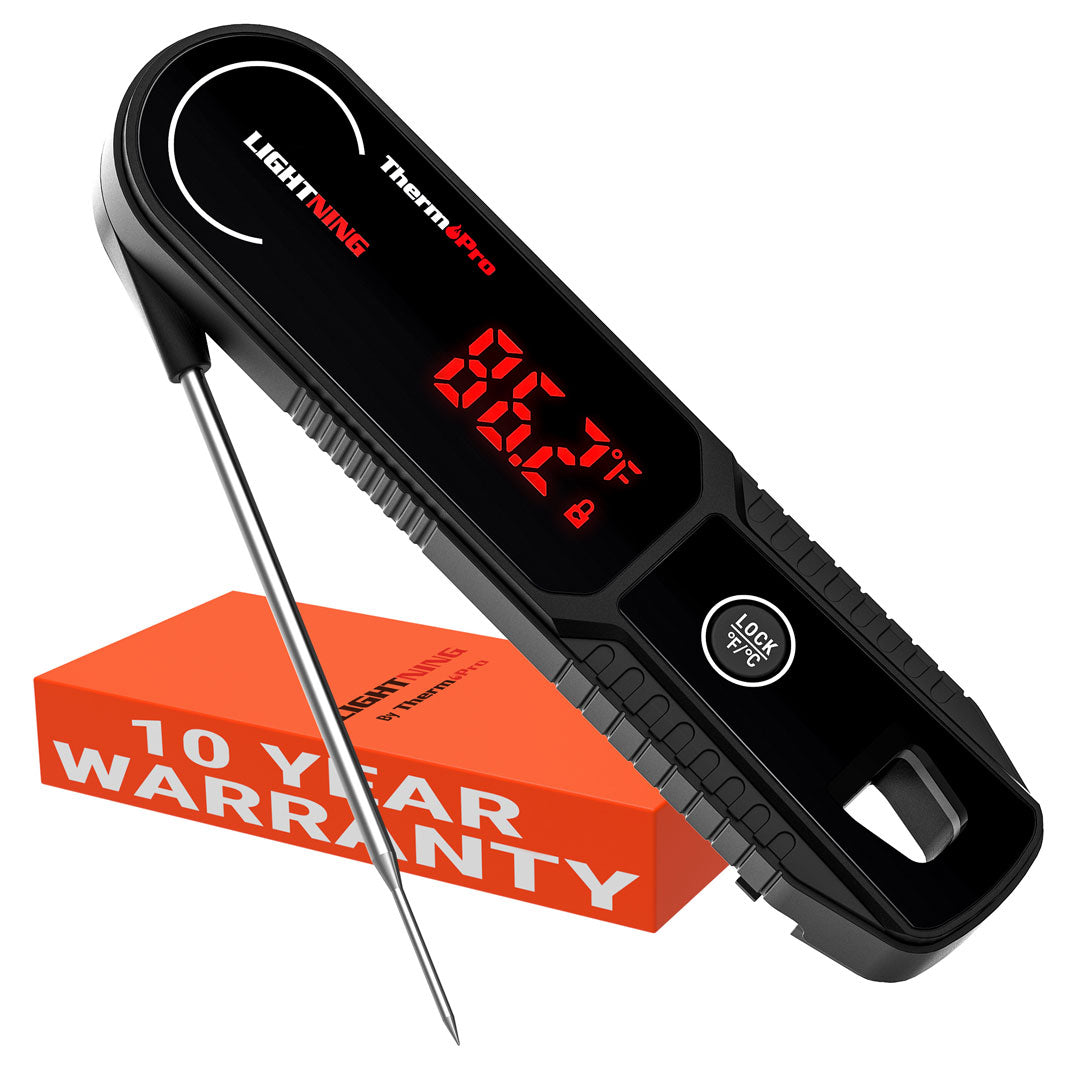
A chicken thermometer is very straightforward to use, but for the best results, it’s essential to understand the correct techniques. Among the many thermometers on the market, the ThermoPro Lightning One-Second InstantRead Meat Thermometer stands out for its speed, accuracy, and ease of use. This thermometer is designed to give you an instant reading in just one second. Its digital display is large and easy to read, enabling you to quickly check the temperature without losing heat from your oven or grill

Follow these simple steps for correct way to measure the temperature of your chicken when cooking.
Step 1. Prepare the Chicken
Before inserting the thermometer, ensure that your chicken is cooking evenly. This means placing it in the center of the oven or on the hottest part of the grill. If you’re cooking a whole chicken, make sure it’s been placed properly to ensure even cooking.
Step 2. Turn On the ThermoPro Lightning
Unfold the probe of the ThermoPro Lightning. The digital display will light up, indicating that it’s ready for use. Press and hold the “°C/°F“ button for 3 seconds to switch between Celsius and Fahrenheit units.
Step 3. Insert the Probe
To get the most accurate reading, insert the thermometer probe into the thickest part of the chicken, typically the breast or thigh. Make sure the probe is not touching bone, as this can skew the reading.
Step 4. Read the Chicken’s Temperature
Within one second, the ThermoPro Lightning will measure and display the internal temperature of the chicken. The large digital screen ensures that you can easily read the temperature, even in dim lighting.
To ensure that the chicken is safe to eat, you should cook it until it reaches an internal temperature of at least 165°F (74°C). The table below shows the approximate chicken cooking times suggested by the United States Department of Agriculture (USDA).

Source: U.S. Department of Agriculture (USDA)
Step 5. Clean the Probe
After using the thermometer, clean the probe by washing it under running water. The ThermoPro Lightning is built with a waterproof design, making it easy to clean without damaging the device. It is IP65 waterproof, allowing you to clean it without worry.
By following these simple steps, you can ensure that your chicken is cooked perfectly every time with the ThermoPro Lightning One-Second Instant Read Meat Thermometer.
Useful Tips for Using a Chicken Thermometer
Here are some useful tips that can help you get the most out of a chicken cooking thermometer and enhance your cooking results.
1. Calibrate Your Thermometer
Sometimes after extended use, a chicken thermometer may need calibration. High-quality thermometers like the ThermoPro Lightning will allow you to make adjustments through its user calibration. You can calibrate chicken thermometer using an ice bath.
2. Check Multiple Spots
To make sure the chicken is fully cooked, you should check its temperature in multiple spots, including the breast, thigh, and any other thick parts.
3. Avoid Touching Bone
Do not make contact with the chicken bone while using the temperature probe. Bones conduct heat differently than meat, which may lead to inaccurate readings and potentially undercooked chicken.
4. Rest After Cooking
After reaching the target internal temperature, let the chicken rest for a few minutes before carving. The resting period allows the juices to redistribute, resulting in a more flavorful and moist dish.
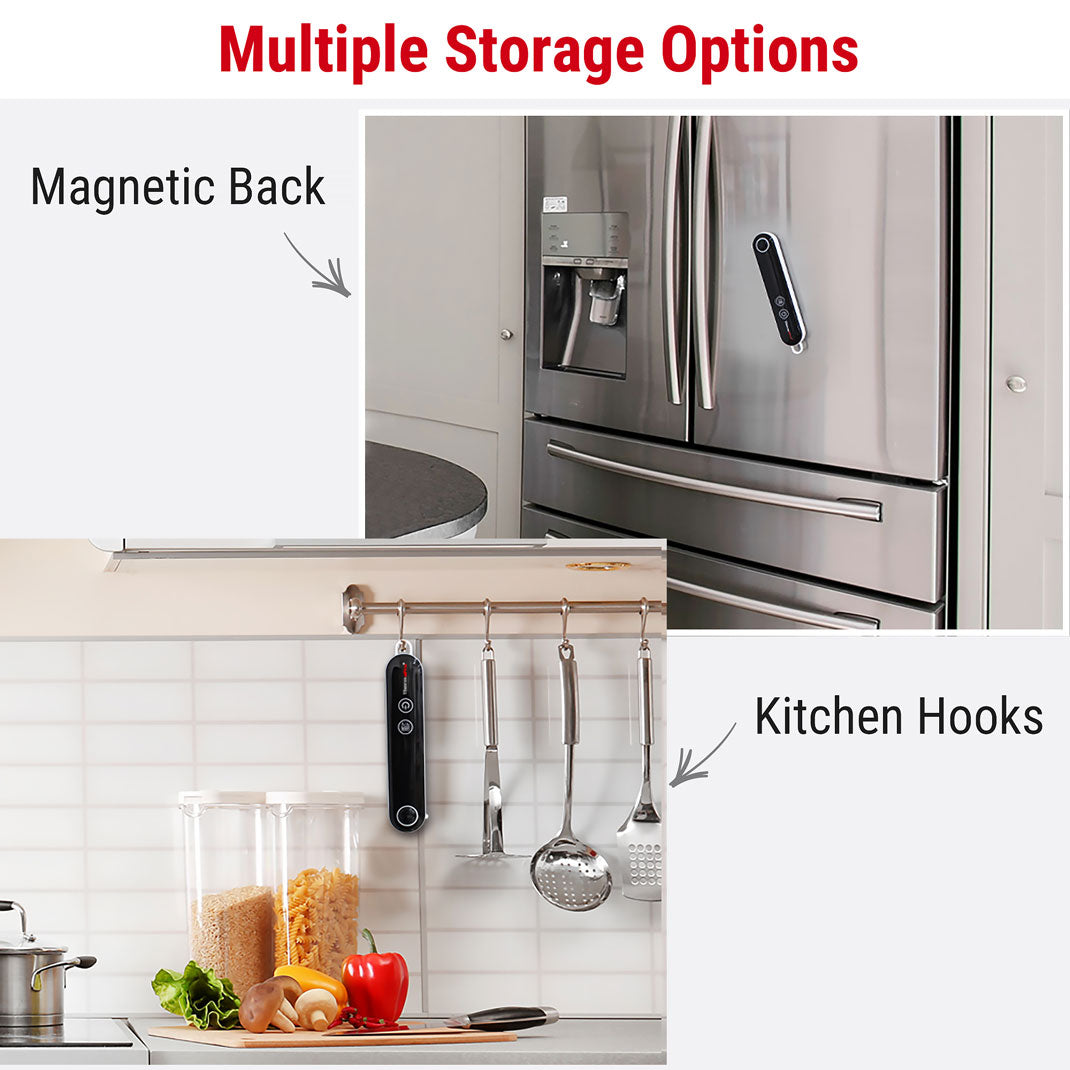
5. Store Properly
Keeping your chicken thermometer cleaned and properly stored will extend its lifespan and help maintain accuracy.
Final Thoughts
A chicken thermometer plays an important role for anyone who takes cooking seriously. It helps you cook chicken to the correct temperature, balancing food safety and flavor. Investing in a high-quality chicken thermometer, like the ThermoPro Lightning One-Second Instant Read Meat Thermometer, can make a difference in your kitchen. With its speed, accuracy, and ease of use, this thermometer makes it easier to cook a delicious and safe chicken dish. Equip your kitchen with the ThermoPro Lightning, and cook with confidence!
Are you interested in getting a meat thermometer? ThermoPro offers a wide lineup of thermometers. Our diverse range of products can take contactless surface measurements as well as monitor your outdoor pool from inside your home. See what we have to offer in our online store!

Comments
You May Also Like

How to Use a Meat Thermometer for Grilling Sausage

How to Smoke a Whole Duck?

How Do You Know When Corned Beef Is Done?