The customer service team is always listening, taking notes, and quantifying complaints to ensure our products are continually improved. Due to selling directly to you, the customer, via Amazon, we can use product reviews to help us improve our existing products or help further development of new products.
Charcoal BBQ: the Ultimate Guide
Table of Contents
As warmer weather approaches, so does the thought of firing up the grill for a night of outdoor cooking, mouthwatering smells, tasty food, and the promise of good times to be had.
However, nothing can ruin your Charcoal BBQ more than improperly cooked foods, it typically occurs as the following factors you didn’t know:
- The right temperature to cook certain foods on
- The proper way to control the grill heat
- The right internal cooking temperatures for a variety of foods
- Or a combination of the three factors above
And these kinds of factors can result in foods that are perfectly charred on the outside but undercooked on the inside or foods that are burnt and dried out. It is terrible!
So, how to perfectly charcoal grill? As we all know, the perfect grill food should have a nice sear on the outside while remaining tender and juicy on the inside, which can be challenging to accomplish without the right knowledge and tools.
And this article, we will share how to charcoal grill and with the food thermometers. We believe that the guides will help you ensure perfectly grilled foods next time.
How to Light a Charcoal Grill?
Let’s start by the light a charcoal grill to start the charcoal BBQ, the ways to light charcoal has been the subject of many debates throughout time. Here are 3 ways for you:
1. Light a Charcoal Grill with Lighter Fluid
Always Begin with the Coals Positioned Closely Together
Positioning the briquettes closely together before lighting them, which helps the fire spread easily from coal to coal, so they’re ready to use in just 10 to 15 minutes.
Igniting the Coals Using Lighter Fluid
This is the most traditional, and probably the most-loved, way to light a grill. However, when using this method, avoid using too much lighter fluid on the coals as it can give your foods a chemical taste. Simply refer to the recommended lighter fluid amount included in the instructions for best results.
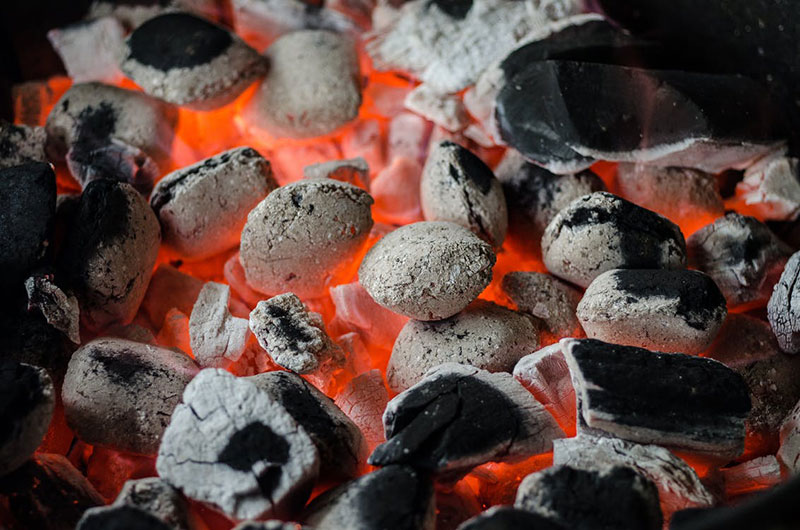
Allow the coals to cover in gray ash
As the coals burn and the lighter fluid gradually burns off, the edges of the coals will begin to turn gray. Allow the briquettes to continue to burn until each piece of coal is covered with gray ash.
Once the majority of each coal is covered in ash, the briquettes are then ready to be spread out and used. It should take about 15 minutes in total for the coals to become ready.
2. Light a Charcoal Grill with Easy-to-light Coals
Easy-to-light briquettes already contain lighter fluid, so all you have to do is simply light them.
Place the coals in a pile
Place the charcoal into a neat pile to allow each briquette to light and the flame to spread quicker.
Light the briquettes
Once you light just a few of the coals, the fire will automatically spread throughout the rest of the mound. Just be sure to light just the edge of the coals, which will allow them to light easier.
Allow the briquettes to become covered in gray ash
Once the coals are lit, the fire will start to die down, and the edges of the coal will begin to turn gray. Allow each briquette to become almost completely covered in gray ash. Spread the coal out and begin your grilling. It should take about 10 minutes in all for the coals to become ready.
3. Light a Charcoal Grill with a Chimney Starter
The chimney starter is a metal cylinder that uses newspaper, or any other type of paper, to fire up the briquettes once they are placed inside the unit. The briquettes sit above the paper so that once the paper is lit, it quickly ignites the edges of the coals, which helps light the entire mass.
Fill the chimney starter with briquettes
Add enough coal to the starter so that it is full. Usually, about 100 briquettes are enough to fill a standard chimney starter; however, you may require less.
Add the paper and light it
Place one to two sheets of newspaper into the bottom of the cylinder. Ignite various spots of the paper.
As the paper burns in the lower half of the cylinder, the flames ignite the edges of the briquettes in the upper half of the cylinder. Examine the coals through the chimney vents to ensure the briquettes are ignited, and the edges of the coals are starting to turn gray.
If the briquettes are not lit, simply place another piece of paper into the chamber and then light it. Drizzling the paper with a bit of cooking oil prior to lighting it will help it burn longer.
Pour the briquettes onto the grill rack
Allow the briquettes to burn about 10 minutes, after which time you should observe the coals starting to glow through the vents and the fire flickering over the top portion of the briquettes.
At this point, pour the coals out into a pile on top of the rack, and wait until they become mostly covered in gray ash. Once the coals are ready, spread them out, and you are ready to start grilling. It typically takes about 15 minutes in total for coals to become ready.
How to Cook on a Charcoal Grill
After finished the charcoal grill lighting, what is the next step? Definitely! Starting the charcoal grill!
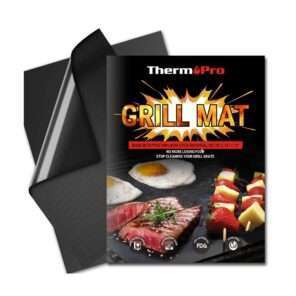
When cooking on a grill, using a grill mat, such as the ThermoPro Grill Mat, will help prevent the food from adhering to the grill, which will help make clean up a cinch, and it can be cleaned using the dishwasher.
-
ThermoPro TP-932
$21.99Original price was: $21.99.$14.99Current price is: $14.99. $14.99Rated 5.00 out of 5Add to cart
It also helps prevent small pieces of food from falling through the rack and onto the hot coals, which can cause a burnt odor. It also enables you to use marinades with more confidence because you don’t have to worry about them burning off.
What’s more, different food items require different cooking temperatures. Therefore, there are different grilling heat options for a charcoal grill.
High Heat Charcoal Grill
Grilling on high heat is the best way to get a perfect sear on the outside of foods while keeping them tender and juicy on the inside. It is about 500-650 degrees F. However, only foods, such as burgers, steaks, corn on the cob, onions, and other thicker vegetables are recommended for high-heat cooking. To grill on high heat, open the vents to permit more oxygen to the coals, which will increase the warmth.
When grilling meats, you should always allow them to rest on a cutting board before cutting them to allow for carryover cooking and to retain their juices.
Medium Heat Charcoal Grill
Medium-heat is nearly 350 degrees F. Some foods, according to the food temperature chart, such as pork chops, fish, chicken, hot dogs, sausages, eggplant, and pineapple, require medium-heat cooking, which enables them to cook thoroughly.
Medium-heat cooking is also recommended for cooking foods with marinades because the medium heat will not cause the sauce to burn off.
Low Heat Charcoal Grill
For some larger fattier cuts of meat is more suitable to grill at low heat. Because they are thick and large, low heat slow grill and grill between 200 – 250 degrees F can make them the perfect grilling food.
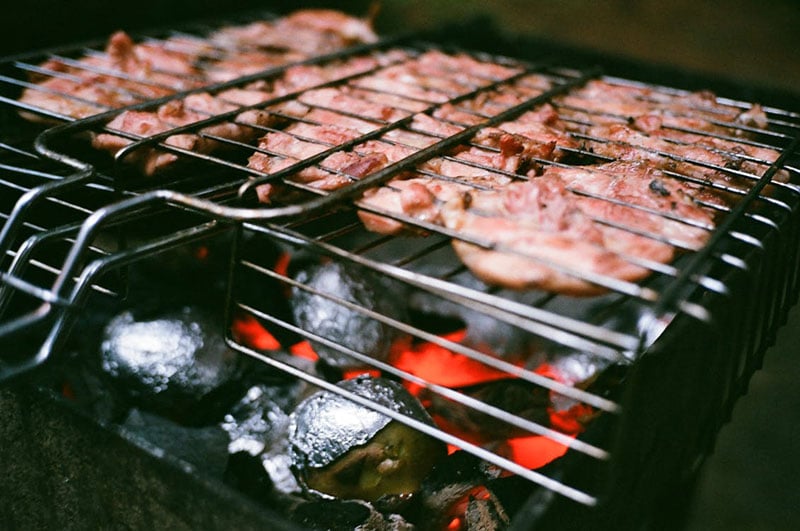
For instance, larger food items such as ribs benefit best from low, slow cooking, while thin steaks require high heat and shorter cooking time when grilling, it is recommended that you use a thermometer to gauge the grill temperature, which will help ensure your food cooks at the right internal temperature. It can also be used to help keep your grill’s heat evenly balanced.
Since different food items require different cooking temperatures, we need to control the grill temperature better.
When cooking meats, they are done and safe to eat when they have the proper color as well as the proper internal food temperature, which for beef, pork, lamb, and veal is 145 °F or higher. Meanwhile, fish, seafood, and poultry should be fully cooked, which is when the internal food temperature reaches 165 °F.
How to Control Temperature on a Charcoal Grill?
As we all know, charcoal grills do include a setting to read the temperature. Instead, they have vents, also called dampers, on the lid as well as on the grill bottom that enables you to control the heat.
The top vents are designed mostly to either retain smoke and heat or to allow them to escape, while the bottom vents control the supply of oxygen to the grill.
To get the grill off to a roaring start, fully open both the lid and the bottom vents. Once you are ready to begin grilling, if the grill is too hot, allow some of the heat to release by opening the lid vents.
You should also close the bottom vents to decrease the oxygen supply, which will help lower the fire as well as prolong the amount of time the coals burn.
However, avoid fully closing the bottom vents or keep them closed for too long because it could put out the fire. On the other hand, if the grill is not hot enough, simply open the bottom vents a bit more and close the vents on the lid to generate more heat.
What’s more, you can also create two different heat zones to prevent your foods from burning. To do so, stack more coals on one side of the grill for higher heat cooking, which will allow you to get a great sear on the outside. Then stack the other side of the grill with less charcoal for lower heat cooking. It will allow you to finish cooking the inside of the food without burning it.
And for better know whether the grilling food is cooked or not, you can simply gauge the food by using a cooking thermometer.
How to Maintain Charcoal Grill?
After finishing the charcoal grill ,closing the grill lid, which will allow the coals to slowly burn down, or you can use water to cool down the coals. But please note that don’t pour or splash water onto the heated coals because it can cause major burns.
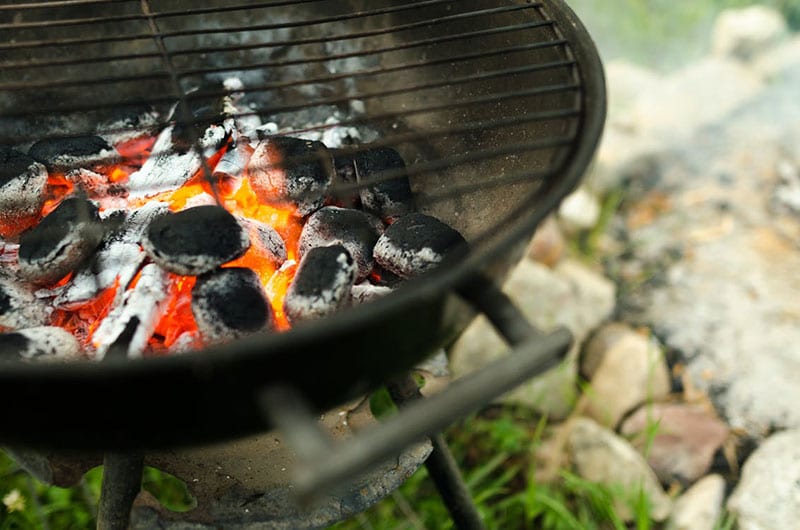
After the device is cool, we should do some clean to maintain the charcoal grill device. Cleaning your grill helps ensure it works efficiently, and it also helps decrease the chance of a fire, which can occur as a result of food build-up.
- Using tongs made of metal, place the briquettes into some water, then place the cooled coals into a trash bag to dispose of them. You should never allow the wet coal or ashes to remain inside the grill because wet coal causes an acidic effect that can quickly rust the grill.
- Close the grill vents, then using a brush for the grill, brush away any stuck-on food. Actually, to remove dry food residue from the grill rack and keep the bottom of the grill clean, we can simply line it with a few pieces of foil before placing the briquettes into the grill. Then they will help make them easier to remove once you’re done. Many grills also include a tray or a grate for the coal to help make it easier to remove used charcoal and ashes, as well.
- Be sure to store your grill using the grill cover, and then simply place it, along with any leftover charcoal, in a safe, dry place until it is ready to be used again.
Final
As an aspiring grill master, there is nothing like having your guests swoon over your food, and still raving about it long after the meal has ended, to make you feel proud. Therefore, it is worth it to learn the proper grilling techniques and internal cooking temps for your foods in order to help ensure your BBQ is a success.
If you need food thermometers for help, welcome to purchase on ThermoPro!

