

The customer service team is always listening, taking notes, and quantifying complaints to ensure our products are continually improved. Due to selling directly to you, the customer, via Amazon, we can use product reviews to help us improve our existing products or help further development of new products.
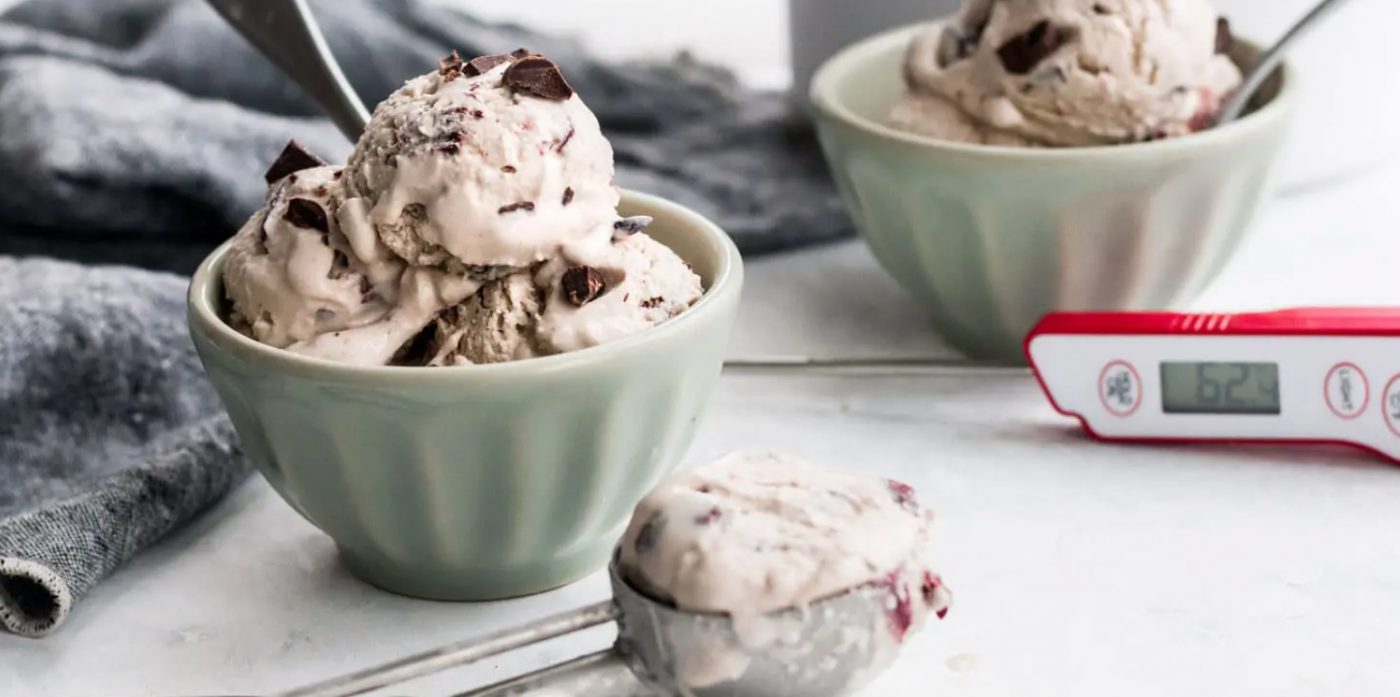
Dairy-Free Chocolate Chip Cherry Ice Cream
Serves
6-8
PREP TIME
10 m plus chill time
COOK TIME
45 M
MODEL NUMBER
TP15
INGREDIENTS
- 1.5 cups Full-Fat Coconut Milk
- 1.5 cups Full-Fat Cashew Milk
- 1 tsp. Vanilla Extract
- 1/2 cup White Sugar
- 3 Egg Yolks
- 2 cups Frozen Cherries, thawed
- ¼ cup Chopped Chocolate
HOW TO MAKE Dairy-Free Chocolate Chip Cherry Ice Cream
Before beginning, make sure your ice cream maker insert is fully frozen. Separate 3 eggs and place the yolks in a heat-safe bowl. Reserve the egg whites for other recipes. Whisk the yolks together and set aside. Set up a double boiler by adding an inch or two of water to a pot and heating it until it’s at a robust simmer.
Place a heat-safe bowl on top of the pot and add in the coconut milk, cashew milk, and half of the sugar. Whisk together and slowly allow the milk to come to a boil. While the milk is coming up to temperature, whisk in the remaining half of the sugar into the egg yolks. Once the milk is bubbling, pour a small ladle of the milk into the bowl that has the yolks in it while stirring constantly.
Continue whisking and slowly adding one ladle at a time until you’ve added in about half to two-thirds of the milk to the yolks. Go slowly with this step or you’ll end up with scrambled eggs! Pour the mixture back into the bowl on top of the pot and continue whisking. Whisk frequently and use your ThermoPro instant-read thermometer to check the temperature of the liquid.
Once the thermometer reads 175 degrees Fahrenheit, remove the bowl from the heat and allow to cool for 30 minutes. Cover the bowl and place in the fridge for 4 hours. While the ice cream mixture is chilling, drain the thawed cherries to remove all of the liquid.
Roughly chop chocolate chunks or a bar of your favorite chocolate and set aside. Once the ice cream mixture has fully chilled, remove it from the freezer and pour it into your ice cream maker. Follow the instructions on the ice cream maker. Once the ice cream is starting to thicken up, add in the cherries and half of the chocolate. Allow the ice cream to continue chilling and add in the remaining chocolate once the ice cream is nearly firm.
Remove the ice cream insert from the machine and place it in the freezer for another 20-30 minutes. Remove the insert from the freezer and give the ice cream a stir. If needed, you can place the ice cream back in the freezer again. Once the ice cream reaches your desired consistency, scoop out the ice cream and enjoy. Place remaining ice cream in a freezer-safe container and freeze. This ice cream holds its texture beautifully and will only need to sit out of the freezer for a few minutes before scooping.
Tools You Need
No products were found matching your selection.