The customer service team is always listening, taking notes, and quantifying complaints to ensure our products are continually improved. Due to selling directly to you, the customer, via Amazon, we can use product reviews to help us improve our existing products or help further development of new products.
How to Prepare a Gas Grill
Table of Contents
Barbecue season has arrived and you have invested in a brand new grill. You cannot wait to cook a sumptuous dinner for your family and dine out on your patio while enjoying the pleasant weather. Using a gas grill for the first time is very similar to using a charcoal grill, although it might require a little more work than a charcoal grill because of its numerous components and more complicated design and operation.
How Do You Prepare Your First Grill?
Conducting a Leak Test
Grilling is a convenient and enjoyable way to create a delicious meal, but a few important safety precautions need to be followed, especially before initial use or the first use after an idle period.
Using a new charcoal grill for the first time does not require much preparation since it is constructed according to the basic design of a fire pit. However, there are additional safety aspects to starting a gas grill for the first time. One of those is a leak test.
A gas grill is powered by a cylinder of propane or liquefied petroleum gas. More recently, natural gas has also become a choice of fuel for gas grills. These highly flammable gases can be very hazardous in case of leakage.
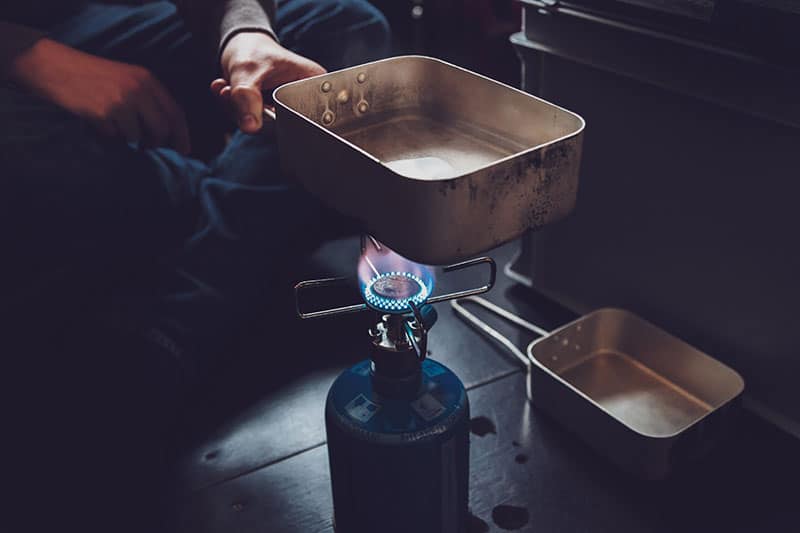
The cylinder is connected to the grill through a valve that switches on or switches off the supply of fuel. It comes with a regulator that adjusts the flow, and a hose which is the conduit for the fuel. A leak can occur at any of these contact points or even the surface of the cylinder if it is damaged. A leak test will help you identify any leakage points.
- Make sure that you perform the test outdoors in a well-ventilated area and away from other appliances.
- Turn off all the grill knobs and the propane tank valve.
- Prepare a mixture of water and dishwashing detergent in a ratio of 1:1.
- Spray or brush this solution onto the tank surface, hose and connectors.
- Turn on the propane tank valve to start the flow of fuel to the grill.
- If there’s a leak, bubbles will form at the leakage point.
- Once you have identified any leaks, turn off the tank valve.
- If the surface of the tank has a leak, contact the supplier or the fire department and do not handle the tank.
- If the leak is located in one of the components, the manual will instruct you on how to repair or replace them.
- A leak test should be performed every time you refill or replace a fuel tank.
Cleaning the Grill
The two main components of the grill that require cleaning are the grates and the drip pan. Cleaning is the first part of how to break in a new gas grill.
- A new grill is bound to have harmful substances like metal shavings, dust, and chemicals like oil and paint on the grill and parts of its interior.
- Make sure that the fuel supply is off before you commence cleaning.
- A simple solution of hot water and detergent in equal parts can be used to clean the interior of a new grill since it does not contain grease or food debris. A mixture of vinegar and water in the same ratio can also be used.
- While a wire brush is required for getting rid of tough food debris, the initial cleaning of a new grill only involves scouring the grates and interiors with a sponge or pad and a mild cleaning solution.
- Make sure that you do not use very abrasive cleaning pads on aluminum parts as they could suffer damage.
- Interior grill components can be removed and soaked in the mixture of hot water and detergent.
- Grill grates can be run through the dishwasher for a more thorough cleaning.
- Clean the burner tubes and the interior of the lid as well.
- For a stainless steel grill, a cleaning spray can be used to clean the exterior, but otherwise, a strong wipe-down will suffice.
Seasoning the Grill
After you purchase a barbecue grill, one of the first questions you might have is how to season a new gas grill. Before you grill your first appetizing meal on your new grill, the grates need to be seasoned by coating them with oil and keeping the grill on high heat for some time.
- Seasoning sterilizes the grill by vaporizing any manufacturing residue that should not adhere to your food.
- It also lends the grates a non-stick quality, which enables a smooth grilling experience. Your steak or chicken breast will acquire those distinct grill marks and an appetizing smoky flavor as they cook to perfection.
- Cast iron or metal grates should be thoroughly cleaned and dried, coated with oil, and heated on high for about half an hour. Oils with high resistance or smoke points like peanut or vegetable oil should be used. This will vaporize any residual chemicals on the grates. It also enables the oil to enter the pores of the metal and create a non-stick quality.
- It is important to keep the grill lid raised and open while lighting. It can be closed after that.
- It is natural to see some smoke during the process as the oil burns. Make sure that any excess oil has been wiped off the grates before this initial burn-in process, to avoid a fire.
- To prolong the life of your grill, periodic seasoning is recommended. The grates should be seasoned before being used at the beginning of the barbecue season and also at the end of the season, before a long idle period. This will prevent rusting.
Prepping the Food Before Grilling
Keeping the grill heated and idle for longer than required will waste fuel and can overheat the grates. To avoid this, it is important to make sure that the food is prepped and ready to be barbecued before you fire up the grill.
- If you are preparing skewers of vegetables or meat, it saves time if you cut them, arrange them on the skewers, and baste them with oil or marinade, before you bring them out to be grilled.
- It is a good idea to marinate steaks, chicken breasts or pork ribs for at least an hour or two before grilling, to give the meat a chance to absorb the flavors before the grill roasts the marinade on the surface.
- Shaping the burger patties beforehand and keeping them ready for grilling gives them time to bind so that they do not fall apart as they cook.
- Gas grills typically require a short preheat time of around ten minutes. So keeping the food ready before firing up the grill ensures that it is ready to be cooked as soon as the grill is hot enough.
Maintaining the Grill
- Cleaning sprays designed for barbecue grill grates are available. They loosen tough food debris and grease that latch on to the metal or ceramic coating. Spray the grates and clean them with a brush that has wire bristles.
- The grates can then be washed with hot water and detergent and thoroughly dried. Repeat the same procedure for the drip pan. This prevents a fire hazard when the grill is fired up the next time and also prevents rusting during the idle period.
- The interior of the lid and openings within the grill can get coated and clogged with grease. Removing this grease after every use will keep your grill functioning efficiently for a long time.
- Disconnect components from the interior of the grill and soak them in a solution of hot water and detergent. Scrub them with a wire brush or scouring pad, dry them thoroughly, and re-install them.
- Season the grates in between uses for a non-stick quality before every use. The non-stick property develops over time with frequent seasoning, guaranteeing that distinct grill flavor every time you barbecue.
- Periodically check the burners for holes and the hose for any signs of wear or damage and replace if needed.
How Can You Get Perfect Performance from Your First Grill?
By following these tips and techniques, you can derive the best and most efficient use from your grill.
- Preheating the grill before barbecuing helps the food cook properly. Gas grills take around ten minutes to preheat. Keep the lid open and open the valve of the fuel tank. Turn on one burner and switch on the ignition button. After this, it is safe to turn on additional burners as required.
- Knowing the cooking zones in your grill will help you cook your food perfectly. Different types of meat and vegetables cook at various temperatures and for different lengths of time. While some cook quickly on high heat, some require a technique of slow cooking on low heat. Your grill provides you with the flexibility to use both techniques.
- Direct heat is used for foods that cook quickly and completely up to their center on high heat. Examples are fish fillets, sliced vegetables, burgers and boneless pieces of chicken. It is also used for searing cuts of meat, crisping the skin of chicken or lightly charring vegetables, corn or burger patties. The food is placed on an area of the grill right above the burner.
- Indirect heat is used when the food is placed near an inactive burner or away from the active one. When the lid is closed, the grill acts more like an oven and slowly cooks certain types of food that require a longer cooking time, typically more than twenty minutes. It is also used to cook foods that might be burned by high heat. Examples are roasts, ribs, whole chicken and whole fish.
- Taking advantage of the lid and top rack will add more nuance to your meals and help you cook meat safely.
- Knowing when to barbecue with the lid closed helps you prepare flawless meals. The lid helps create a convection environment within the grill to slow-cook thick cuts of meat or tough vegetables. Any food that has a high density will cook better with the lid closed. But the heat accumulates under a closed lid, so you will need to take care not to overcook or burn the food. Barbecuing with an open lid is ideal for searing and cooking on high heat.
- The top rack keeps food away from the burner and cooks it on a gentle heat. This is the perfect location for warming bread and buns or melting cheese on them.
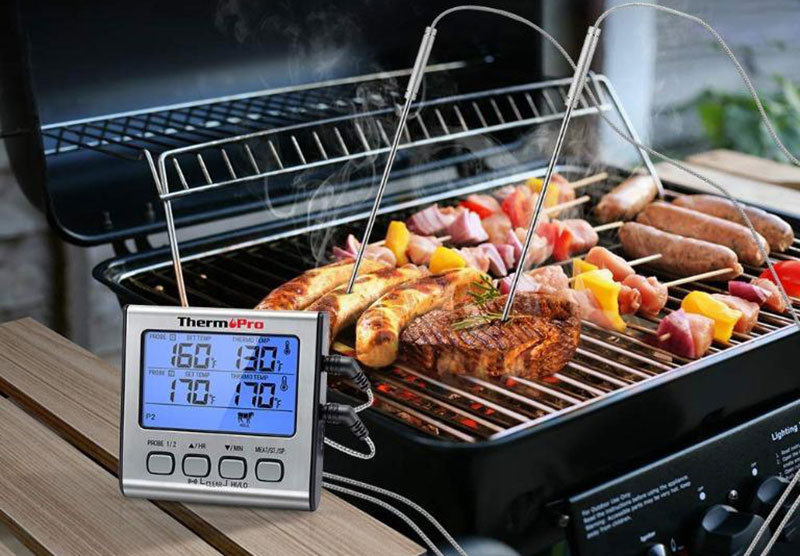
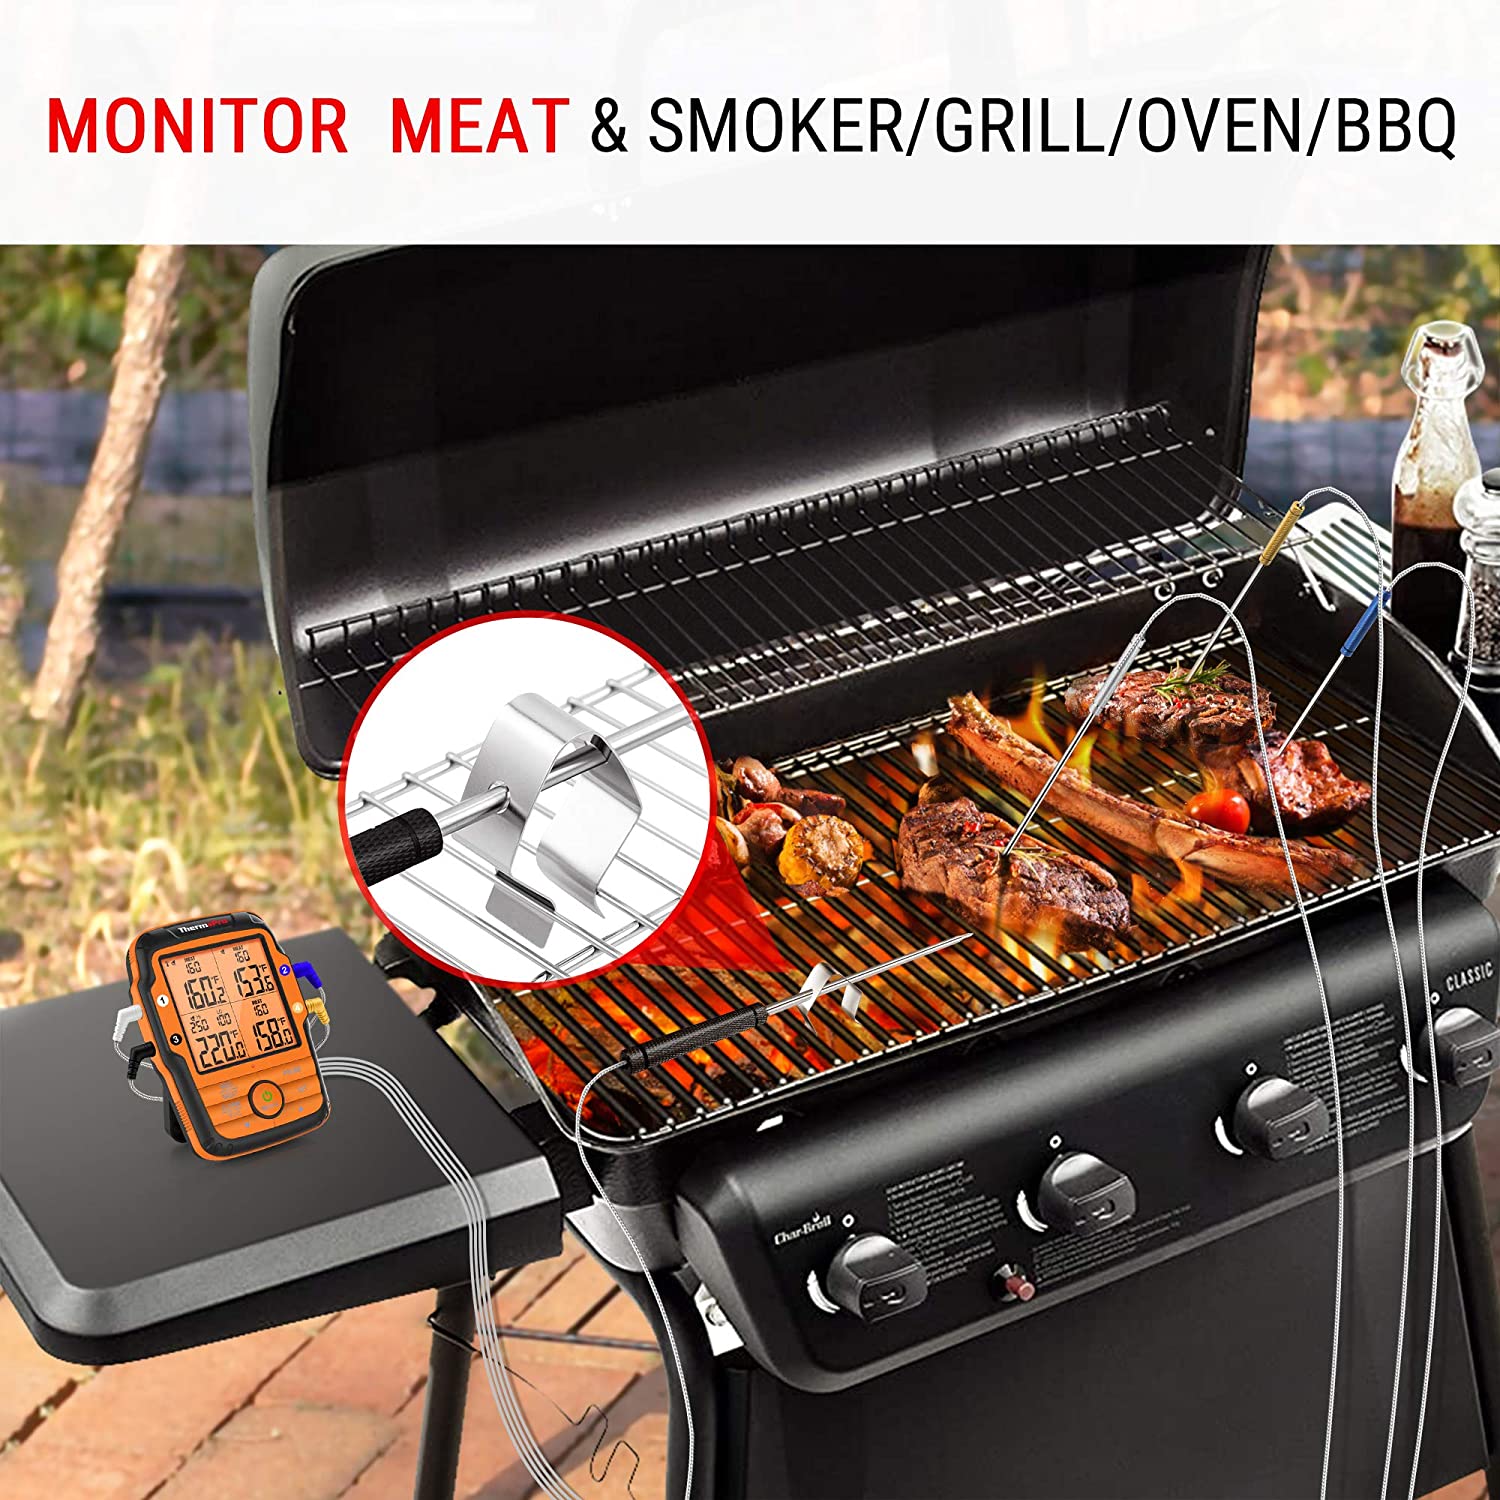
- Using a meat thermometer will guarantee safe grilling. When you are cooking dense cuts of meat, whole poultry, or large pieces of meat with the bone in, it is important to ensure that the meat has cooked through to the center. While some grills come equipped with a thermometer on the lid, it is advisable to keep a meat thermometer handy.
ThermoPro’s Wide Range of Meat Thermometers to Suit Every Grilling Need
- Digital thermometers with a probe can be inserted into the meat for an almost instantaneous reading. The quick reading ensures that the grill lid does not have to stay open for too long as you measure the temperature.
- Digital thermometers with two components and a dual probe allow you to monitor both food temperature and ambient temperature from up to three hundred feet away. While the thermometer stays inserted into the food, you can carry the wireless receiver with you and stay informed of the temperature readings. The system alerts you in case of a lost link between the transmitter and the receiver. It can measure temperature in Fahrenheit and centigrade and also has a timer. This type of thermometer is suitable for long periods of grilling, like a whole turkey.
- Wireless thermometers use Bluetooth technology to measure the temperature of the meat remotely. They operate at a range of up to a hundred feet.
In conclusion, with conscientious maintenance and by following operating tips and techniques, you can get the best out of your gas or charcoal barbecue grill.
Accessories like ThermoPro meat thermometers will help enhance your grilling experience by adding a layer of safety to the barbecuing process.
Keeping your grill clean and grease-free will not only warrant that your meals will be flavorful, but it will also keep you and your family safe from fire hazards, and will prolong the life of your grill, making it a worthwhile investment.

