You should never assume that your food thermometer is always correct. Many times, people think that the problem is with their cooker when the temperature readings don’t make sense. Although the cooker might be at fault sometimes, it is not always the case. For example, if you notice that the food temperature doesn’t go past 190°F, you can adjust the gas pressure. If the problem still persists, there’s a problem with your food thermometer accuracy. Fortunately, this article explains two ways used to calibrate food thermometers to determine their precision and gives recommendations on potential replacements.
Ice Bath Test
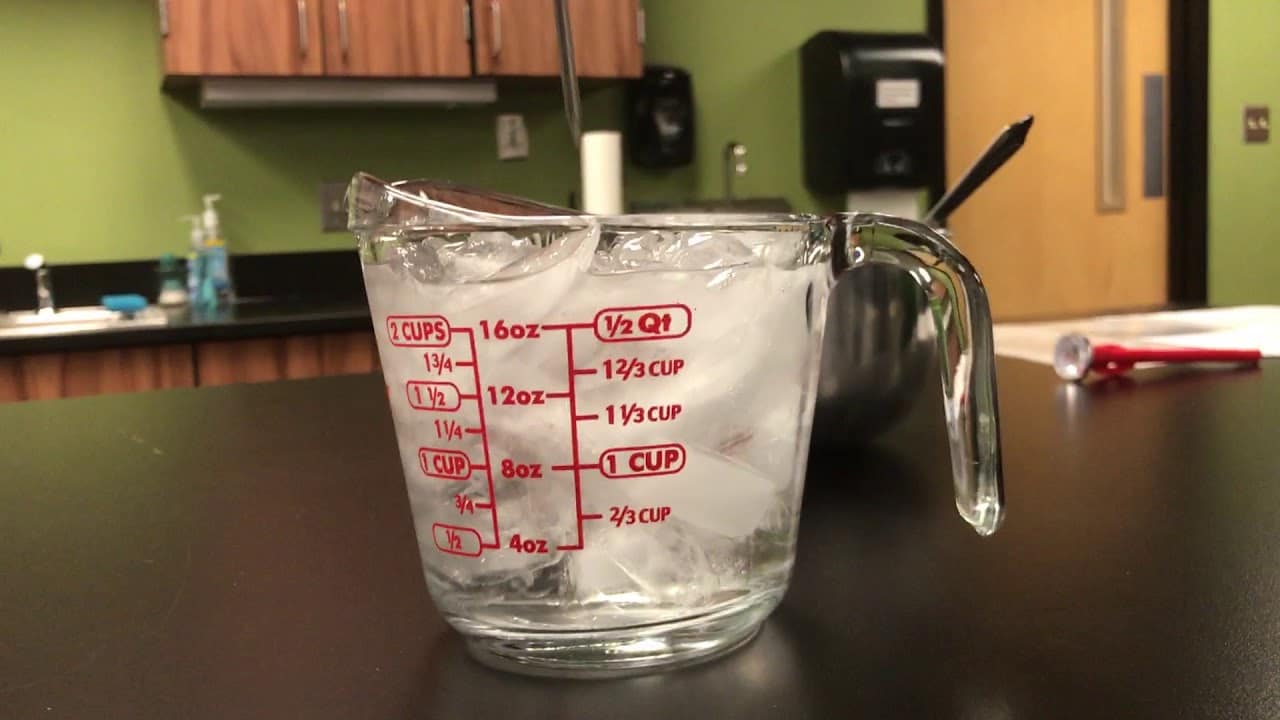
This is probably the simplest method you can use to test the correctness of your food thermometer. If it is your first-time hearing about this technique, you need the following items to create the perfect ice bath: a tall clear glass, pre-cooled water, ice cubes, a spatula or a spoon to stir the mixture.
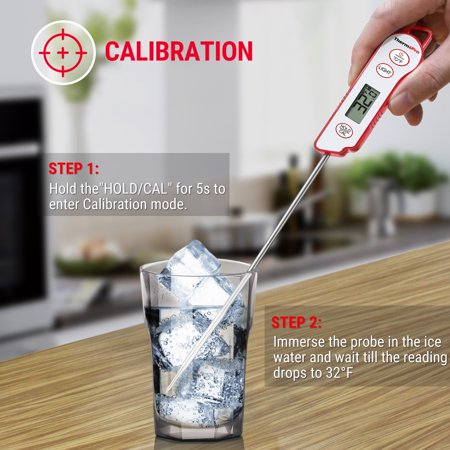
After you have all the items, fill the tall clear glass with the ice cubes, then add the pre-cooled water until it covers the cubes, and stir for about 15 seconds with the spatula or spoon. Then take your food thermometer stem and dip it, at least 2 inches, in the center of the ice bath. Gently stir for another 15 seconds and check the reading: if it is 32°F, your thermometer is in perfect condition.
Remember that if you want to get an accurate reading, you ought to keep the stem dipped in the middle of the ice bath and constant motion. Avoid resting the stem on top of an ice cube because it may read a very low temperature. Alternatively, don’t allow the stem to rest on the glass since it may read a high temperature. Finally, don’t keep the stem too deep into the ice bath as you may end up getting an inaccurate reading.
Boiling Water Test
This is perhaps the more complex method between the two since you need to know the altitude and atmospheric pressure at the time of the test. If your thermometer doesn’t have any faults, it will read 212°F when placed in boiling water at sea level under normal atmospheric conditions.
You will need a wide pot, water, and a cooker. Before you pour the water into the wide pot and start to boil, you need to calculate the boiling point of your area, given the altitude and atmospheric pressure. To do this effectively, you can use an online boiling point calculator.
Fill the wide pot with the water up to a level of 4 inches and place it on a cooker to begin the boiling process. Remember that your food thermometer doesn’t have to read 212°F because the reading depends on your geographical location. Insert the thermometer stem 2 inches in the center of the boiling pot and stir gently for 10 seconds. Take the readings and check whether they coincide with your location’s boiling point. Depending on the accuracy of your instrument, a proper reading falls between +/-0.7°F and +/-2°F.
Other factors to consider when doing the boiling water test is the type of water used – hard water takes longer to boil – and the type of pot – a tall narrow pot leads to a higher boiling point than a short wide one.
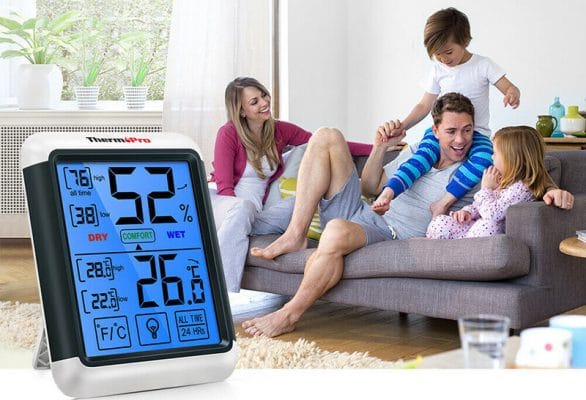
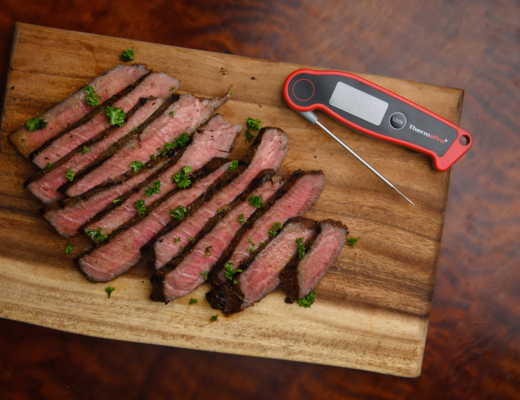
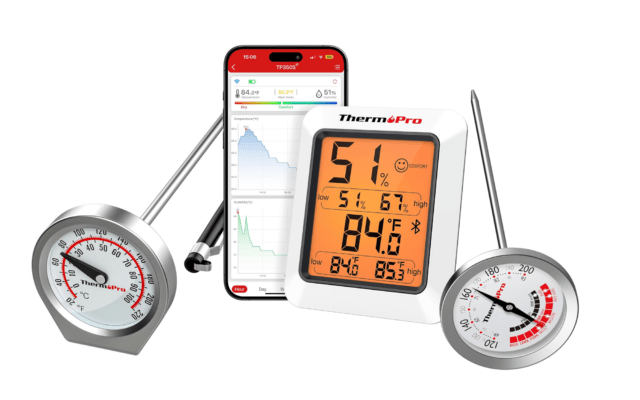
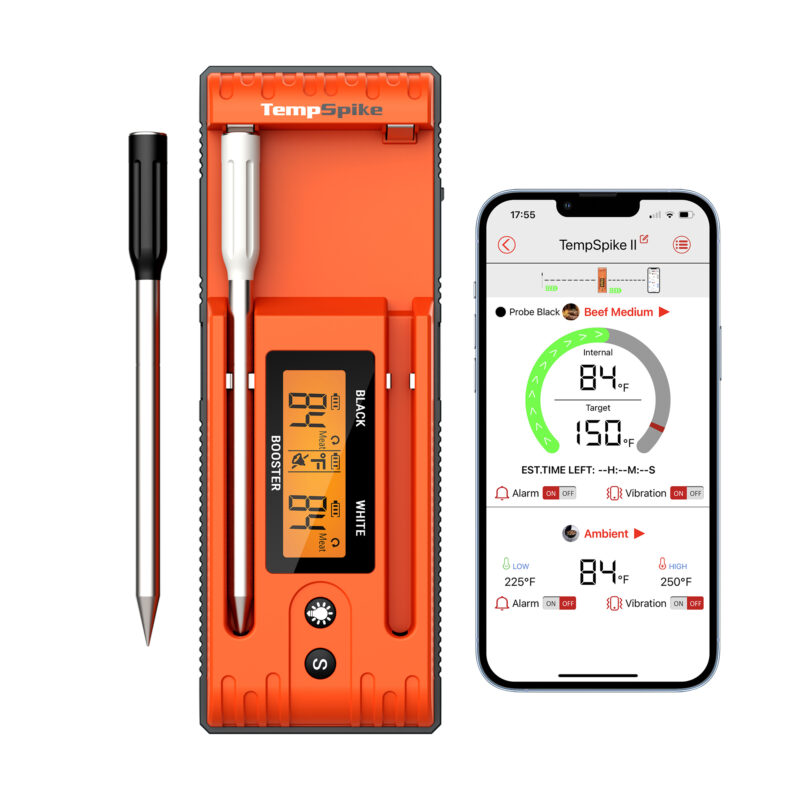
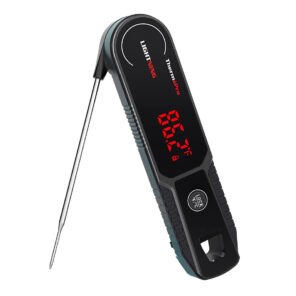
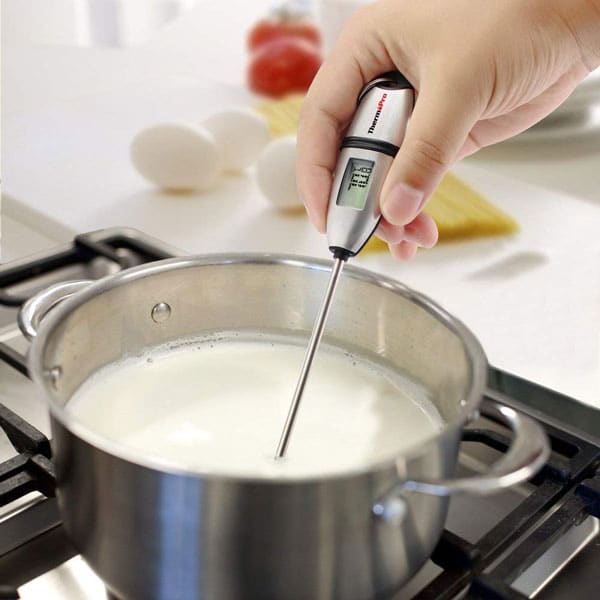
After you discover that your food thermometer is faulty, you need to find a replacement that will last longer than the previous one and guarantee maximum accuracy. I highly recommend using ThermoPro meat thermometers because they have a reputation for being very exact and affordable.
If you suspect that your food thermometer might be faulty, you can use the two ways I mentioned to verify your suspicion. Just remember to do both tests correctly to get the best results.