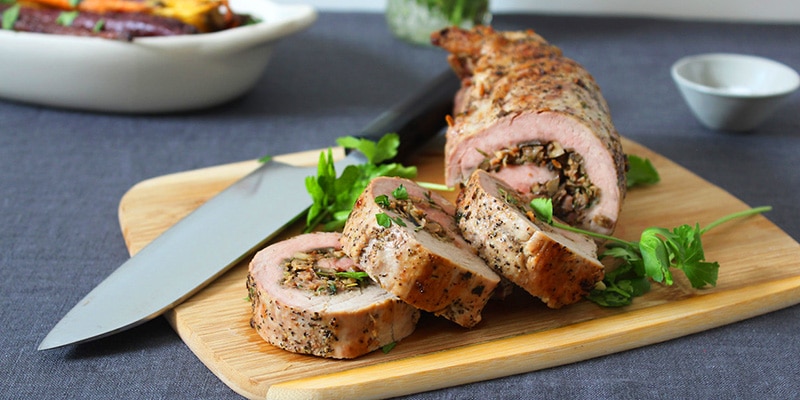
A good piece of pork can change lives. No longer will you be resigned to a fate filled with dry, stark white pork chops cooked into nothing, but a juicy stuffed pork tenderloin just brimming with flavor.
That is what you hope for, at least. The problem is you simply are not entirely sure how to make one of these, let alone what the correct pork cooking temp is to spare you from that terrible porcine portion.
Fear not, though, as we have the perfect stuffed pork tenderloin recipe for you. We will outline everything you need and every step to take in constructing this dish, plus several helpful tips and tricks to ensure it always comes out as good as it could possibly be.
Supplies
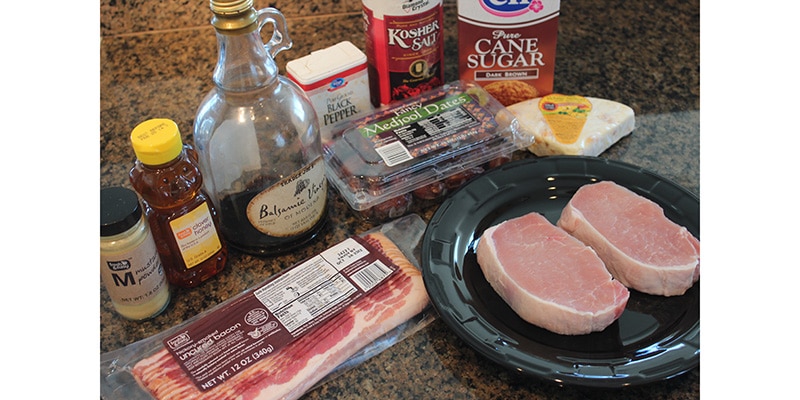
Before you can begin eating, you first have to cook. Before you can cook, though, you have to get your supplies. Simplicity is key to this dish, so do not worry about needing all kinds of specialized pans or designer ingredients. So long as you get the technique down, you will be fine.
- 1 pork tenderloin (about 1 lb).
- 3 cloves garlic, crushed and minced.
- 2 sprigs fresh rosemary, chopped.
- 2 sprigs fresh thyme, chopped.
- 1 to 2 stripes smoked streaky bacon.
- 1 lemon + zest.
- 1 small onion, diced.
- 1/2 cup Panko bread crumbs.
- 1/3 cup + 2 tablespoon olive oil.
- 1 tablespoon Dijon mustard.
- 1 tablespoon fresh parsley, chopped.
- 1 tablespoon freshly ground black pepper.
- 1 tablespoon kosher salt.
- Plastic wrap.
- Small metal sieve
- Butcher’s twine.
- Food-safe brush.
- Large stainless steel baking tray.
- Metal baking rack.
- A meat thermometer or temperature probe.
- Food processor (optional).
- Meat mallet (optional).
Recipe
Once you have gathered your supplies, you can then move on to actually cooking the recipe.

Step 1: Prep the Pork
Preheat your oven to 450 degrees Fahrenheit. Begin by trimming off any silverskin you might find on your tenderloin (the silvery white membrane stuck to the outside of the meat), as this will not become tender with cooking and only serves to ruin an otherwise fantastic dish with stringy, chewy bits.
Next, cut open the pork about 3/4 of the way into the meat and open it up like a book. Place over a layer of plastic wrap and pound out to an even and consistent thickness with a meat mallet or, if you do not have one, a heavy-bottomed pan. Once flattened, season both sides generously with salt and black pepper.
Step 2: Make the Stuffing
With your tenderloin ready and waiting to be filled, move on to the stuffing. Dice a small onion and crush and mince three cloves of garlic. Add these plus a third of a cup of olive oil, the zest of one lemon, and chopped fresh rosemary and thyme to a cold skillet and cook over medium heat. Introducing the ingredients to a cold pan helps prevent them from overcooking before going into the oven which can make things like the garlic taste bitter or scorched.
When the olive oil is barely sizzling, introduce the Panko bread crumbs and toast until lightly golden brown. Drain off the oil into a dish or measuring cup by straining and pressing the filling in a small sieve and allow to cool in the fridge uncovered for about thirty minutes. Combine the drained filling with one or two strips of chopped up bacon in a food processor and blend until a thick paste is formed (if you do not own a food processor, you can simply chop everything together very finely with a knife and combine in a bowl). Season with a pinch of salt and black pepper.
Step 3: Stuff the Pork
Spread your filling onto the pork, leaving about an inch of meat on one end uncovered. Roll up the pork starting with the end covered in the filling, ending with the uncovered end on the bottom. Using butcher’s twine, tie the tenderloin in four or five places along the length of the meat, being careful not to tie it so tightly that the filling begins to squeeze out of the ends. Brush the pork down with a mixture of a tablespoon each of olive oil and Dijon mustard.
Step 4: Roast the Pork
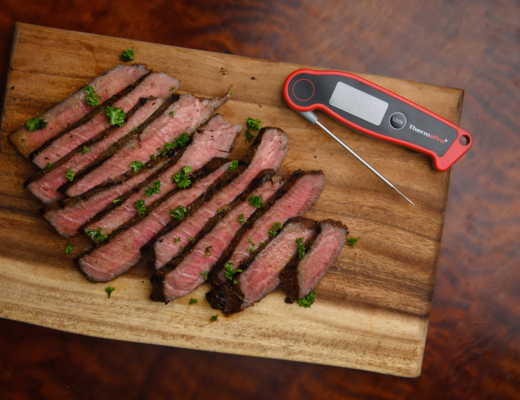
Place the pork on a baking rack set inside a large metal baking tray, then toss it into your preheated oven. Given the leanness of the pork tenderloin, it is very easy to overcook this cut of meat. While you might be able to get by on time alone (around half an hour), it is recommended you use a meat thermometer or temperature probe like the ThermoPro TP-20 that can tell you exactly how done your meat is at a moment’s notice.
Allow your pork to cook until it reaches an internal temperature of 135 degrees Fahrenheit, then remove it from the oven. In a hot skillet, sear the pork on all sides in an extra tablespoon of olive oil until well browned. Additionally, halve the lemon you zested earlier and place in the skillet next to the pork to allow it to caramelize.
Step 5: Rest the Pork
After removing from the heat, your pork will need a chance to rest for about 10 minutes or so. This allows the juices to reabsorb into the pork and for the heat to fully distribute throughout the meat. By the end of resting, the pork will raise several more degrees internally to make for the perfect 145 degree doneness.
While you wait, make a vinaigrette dressing for the meat using the reserved olive oil from earlier, some freshly chopped parsley, and the juice of the roasted lemon. Whisk these together until the fat emulsifies, then season to taste with salt and pepper.
Conclusion
Now you have all the information you need to cook a delicious stuffed pork tenderloin better than anything you could find in a restaurant. There are a ton of different ways to customize this dish to your liking, so always be ready to experiment with new fillings, pan sauces, and plenty of other great ideas.